How to Replace a Window: A Guide for Homeowners
Replacing a window can make your home more energy-efficient and look better. It can also increase your home’s value. This guide will help you replace a window on your own.
Replacing a window is a bit of a challenge. It can take a whole day and cost between $101 and $250. You’ll need tools like a caulk gun and a hammer. You’ll also need materials like caulk and insulation for a good fit and seal.
To replace a window, you first remove the old one. Then, you prepare the opening for the new frame. With the right steps and safety, you can make your home look and feel better.
Key Takeaways
- Window replacement is an intermediate-level project that can take a full day to complete.
- Proper tools and materials are essential for a successful window installation, including a caulk gun, drill, and various types of insulation and sealants.
- Measuring the existing window frame accurately is a crucial first step before ordering new replacement windows.
- Safety considerations, such as handling lead paint, should be addressed when working on older homes.
- Homeowners can save on labor costs by choosing to install the new windows themselves, with around 70% opting for a DIY approach.
Understanding Window Replacement Options
Homeowners have many choices when replacing windows. You can pick between full-frame replacement windows and insert or pocket windows. Knowing the differences helps you choose the best for your home.
- Full-Frame Replacement Windows: Full-frame replacement windows mean taking out the old frame and putting in a new one. This lets you change the whole window, including the frame and trim. They’re great for homes with old or broken frames, making your home look and feel better.
- Insert or Pocket Windows: Insert or pocket windows fit inside the old frame. They’re cheaper because you don’t have to remove the whole frame. They’re a good choice for those who want to update without the extra cost and work of a full replacement.
- Factors Influencing Window Choice: Choosing the right window depends on several things. Energy efficiency, cost, and your home’s style are important. Vinyl windows are popular for being durable and saving energy. Full-frame windows are best for a full upgrade, while pocket windows are more budget-friendly.
Essential Tools and Materials Needed
Replacing a window is easy if you have the right tools and materials. You’ll need a caulk gun, a cordless drill, a utility knife, fiberglass insulation, and shims. These tools will make the job easier.
A caulk gun is key for sealing the new window frame. It keeps the weather out. The cordless drill helps secure the window with screws. The utility knife is great for cutting insulation and weatherstripping.
- Caulk gun
- Cordless drill with driver bits
- Utility knife
- Fiberglass insulation
- Shims
You’ll also need caulk, foam, flashing tape, wood filler, and paintable caulk. Having everything ready before you start makes the job smoother.
Safety Precautions and Preparations
Replacing windows needs careful attention to safety. If your home was built before 1978, watch out for lead paint. Lead can harm your health, so it’s key to be careful.
Wear safety glasses, gloves, and a mask to protect yourself. Use drop cloths or tarps to keep dust and debris in one place.
Lead Paint Considerations
Older homes might have lead-based paint. This paint is very dangerous if disturbed. Before you start, test the paint for lead.
If it has lead, be extra careful. Make sure to handle and throw away materials safely. This protects you and your family.
Protective Equipment Requirements
- Safety glasses or goggles
- Gloves
- Respirator mask or n95 dust mask
- Protective clothing, such as long sleeves and pants
Work Area Setup
- Clear the area around the window of any furniture, decor, or valuables.
- Lay down drop cloths or tarps to catch debris and protect floors.
- Ensure easy access to the window from both the inside and outside of the home.
- Establish a designated workspace for tools and materials.
By following these safety steps and setting up your work area right, you can have a safe and successful window replacement. Always put your safety first.
How to Measure for Replacement Windows
Getting the right window measurements is key for a good replacement job. Measuring your current windows carefully is important. This way, you can get the right size for your new windows.
First, measure the width of the window frame at three spots: top, middle, and bottom. Take the smallest measurement. Then, measure the height at left, center, and right sides. Use the smallest height for your new window.
- Measure the width of the existing window frame at the top, middle, and bottom, and record the smallest value.
- Measure the height of the window frame at the left side, center, and right side, and record the smallest value.
- Measure the diagonal dimensions of the window opening to ensure it is square.
Measure inside the frame, not between the stops. Also, remember to add for any siding or stucco. With these measurements, you can order windows that fit your home well.
Good window measurements are crucial for a smooth install. They prevent issues like a bad fit and problems with how the window works. By measuring right, you’ll make your home more energy-efficient and look better.
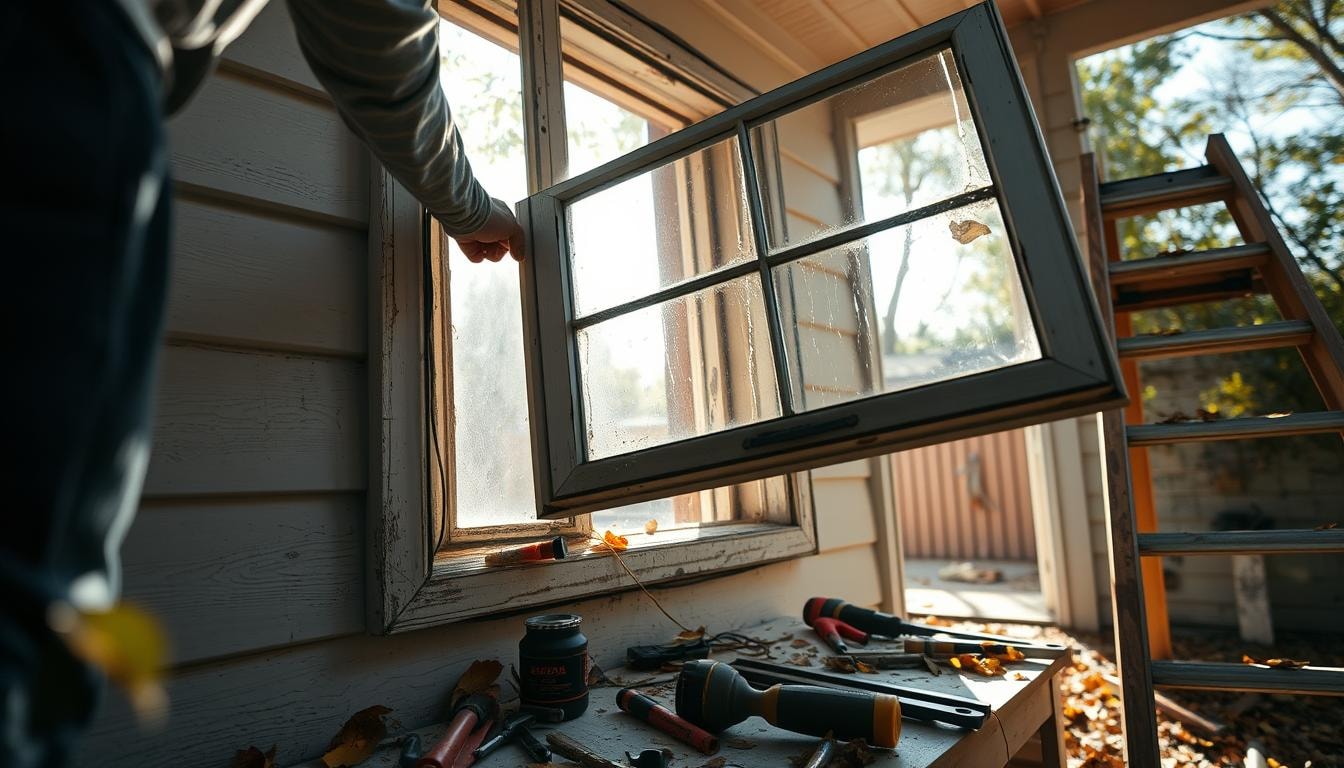
Removing the Old Window Unit
When it’s time to replace an old window, the first step is to carefully remove the existing unit. This process involves several key steps. You’ll need to handle storm windows, deal with sash weights and springs, and remove the window stops.
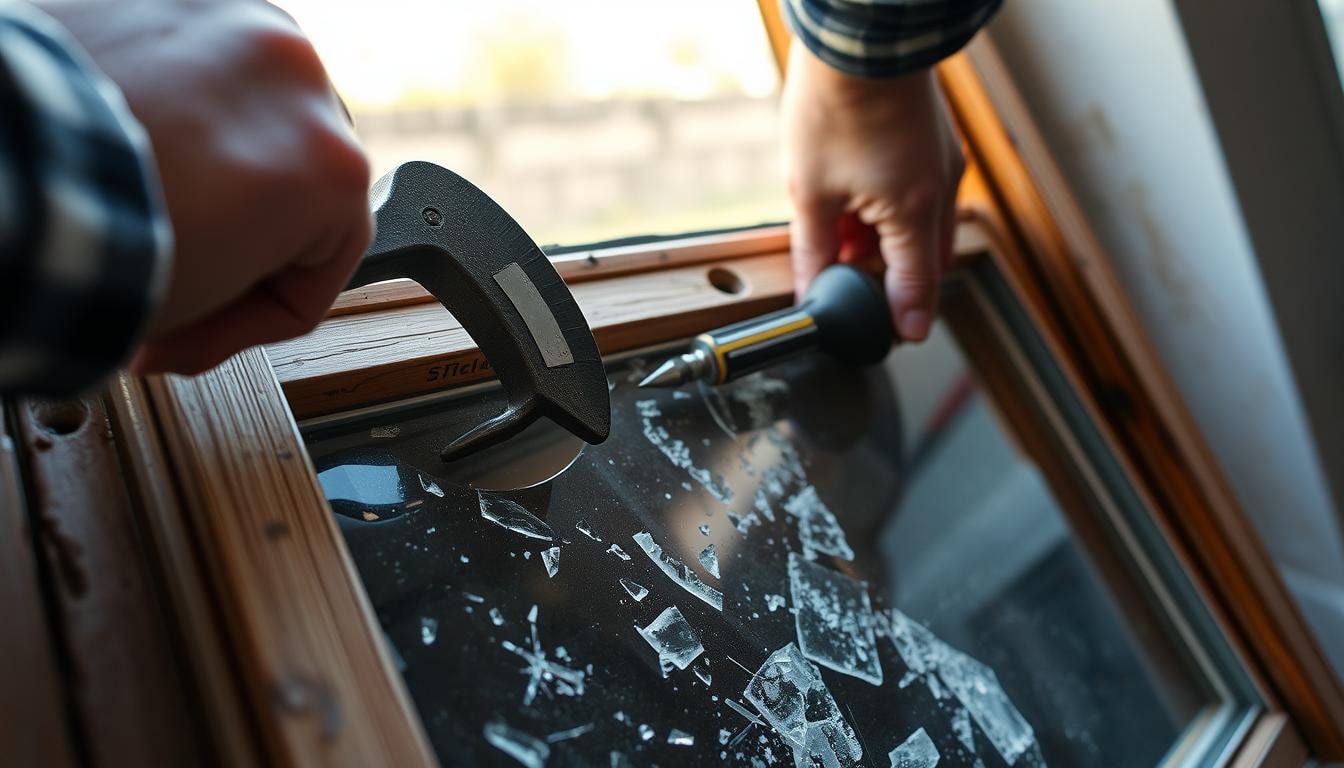
Removing Storm Windows
If your home has storm windows installed, you’ll need to start by removing them. Use a utility knife to score the window edge. Then, remove any screws or fasteners holding the storm window in place.
Carefully pry the storm window out. Take care not to damage the surrounding trim or frame.
Dealing with Sash Weights and Springs
Many older windows use counterbalance systems, such as sash weights or springs. These help the window sash move up and down smoothly. To remove the old window, you’ll need to either cut the cords connecting the sash weights or remove the screws holding the spring mechanisms in place.
Removing Window Stops
The next step is to remove the window stops. These are the trim pieces that hold the window sash in place. Start by carefully prying out the exterior stops, leaving the interior stops in place.
This will provide a stable surface for the new window frame. Fill any resulting holes with wood filler to create a smooth surface.
With the storm windows, sash weights, and exterior window stops removed, the old window unit can now be carefully lifted out of the opening. This makes way for the installation of the new replacement window.
Preparing the Window Opening
Getting the window opening ready is key for a smooth replacement. Start by cleaning it well with a shop vacuum and a damp cloth. This removes dirt, old caulk, and debris. It makes the surface ready for the new window.
Then, put on high-quality flashing tape along the sill. Make sure it goes up the vertical leg of the stool. This tape stops water from getting in and prevents leaks. Check that the sill is straight and flat. Use shims if it’s not, and hold them in place with tape and screws.
- Clean the window opening using a shop vacuum and damp cloth
- Apply flashing tape along the windowsill, extending up the vertical leg
- Ensure the sill is level and use shims if needed, securing them with tape and screws
By preparing the window opening well, you set up a strong base for the new window. This helps make the installation successful and long-lasting.
Installing the New Window Frame
Replacing old windows with new ones is easy and makes your home look better and save energy. First, make sure the new window fits perfectly. Dry-fit the window to check if it fits right, with a small gap.
After checking the fit, put a 3/8-inch bead of silicone caulk on the inside of the frame. This goes from the top to the stops and sill. It seals the window well, keeping air and water out. Then, put the window in place and press it against the caulk. Use screws and shims from inside to hold it tight.
- Dry-fit the new window to ensure a proper fit with a small gap around the frame.
- Apply a 3/8-inch bead of silicone caulk along the interior head of the frame, working down to the stops and sill.
- Place the window in the opening, pressing it firmly against the caulk.
- Secure the window using shims at pre-drilled screw holes and drive screws through the shims from the interior side.
By following these steps, you can install replacement windows well. You’ll get a strong, weatherproof seal for your window frame. With the right steps and care, your window installation will last for many years.
Proper Leveling and Shimming Techniques
It’s important to make sure a window is level, plumb, and square. This is key for its performance and function. Use a level to check if the frame is straight and even.
Place shims at the screw holes and at the meeting rails if needed. This helps make the installation level and plumb.
Using Levels and Measuring Tools
Getting precise measurements is crucial for correct window placement. Use a level to check the window’s levelness from side to side and top to bottom. Measure diagonally to confirm the frame is square.
Adjust the window’s position as needed. This ensures it is plumb and square in the opening.
Shim Placement Guidelines
- Position shims at each screw location along the window frame.
- Add shims at the meeting rails to keep the sashes level and even.
- Verify the window sashes sit evenly in the frame after shimming.
- Ensure the window operates correctly by testing the opening and closing mechanism.
- Trim any excess shim material that extends beyond the frame.
Proper leveling and shimming are vital for a window that works well. Take your time to measure, level, and shim the window. This will give you a lasting, energy-saving, and beautiful result.
Insulation and Weatherproofing
Insulation and weatherproofing are key for better energy use and less drafts. Using window spray foam from the outside is a smart move. It fills gaps around the frame well. For bigger gaps, add backer rod weatherstripping first, then the foam. But, don’t fill too much to avoid bowing the frame.
Keeping weatherstripping and caulking in good shape is vital. Sealed windows can cut energy bills by 15-20% yearly. Also, double or triple-pane windows with special coatings help a lot with insulation and save money over time.
- Employ heavy curtains or cellular shades in winter for added insulation
- Use storm windows as an extra shield against the elements
- Regularly inspect and replace worn weatherstripping to maintain energy efficiency
Using advanced weatherproofing methods helps keep your home efficient and safe. Storm windows add solid protection and block harsh weather. Focus on insulation and weatherproofing to make your home more comfortable and energy-efficient.
Sealing and Caulking Methods
Sealing and caulking around windows is key in window replacement. The right methods boost energy efficiency and prevent leaks. They also make your home look better.
Types of Caulk to Use
For window caulking, you have two main choices: silicone and latex caulk. Silicone is great for outside because it’s tough and flexible. It lasts long against weather. Latex is better for inside because it can be painted and is easier to use.
Application Techniques
Choosing the right caulk is important, but how you apply it matters too. Clean the surfaces first. Then, put a bead of caulk around the window, making it slightly sloped for water to run off. Use a caulking gun for accuracy and smooth it with a wet finger or tool for a neat look.
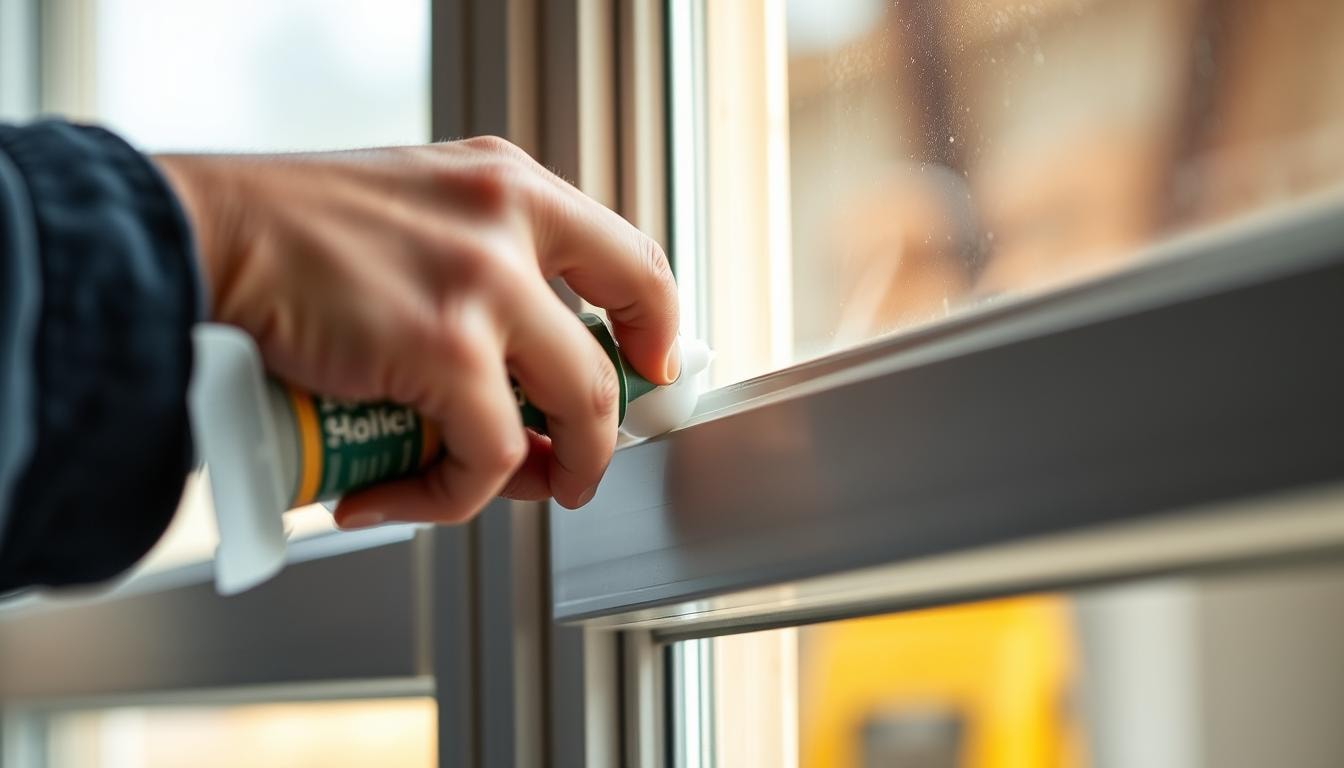
It’s crucial not to put too much or too little caulk. Too much can crack and leave air pockets. Too little won’t seal well. For big gaps, use a backer rod first, then caulk.
By using these tips for silicone and latex caulk, you’ll get a strong seal. This improves your home’s energy use and looks.
Installing Window Trim and Finishing
Upgrading your home’s look with new window trim is easy, even for DIY fans. You just need to attach the trim to the window frame with finish nails. Then, seal the edges with latex caulk. For the inside, a simple caulk application gives a neat finish.
Choosing the right materials is key. Exterior trim can be vinyl, fiber cement, or wood, costing $0.50 to $10 per foot. For inside, you can pick hardwood, reclaimed wood, or MDF, priced from $0.60 to $12 per foot. Your choice depends on your home’s style and budget.
- Attach the exterior trim with 2½-inch finish nails. Use a nail set to avoid damage.
- Seal the edges with latex caulk, making sure not to block weep holes.
- Fill nail holes with wood putty. Then, paint or stain the trim as needed.
- For inside trim, apply latex caulk for a clean look.
The whole job takes 60 to 90 minutes per window. Costs range from $20 to $30 for materials. With basic carpentry skills and the right tools, you can make your windows look great.
Testing Window Operation
After putting in your new windows, it’s key to test them well. This makes sure they work right and save energy. Let’s look at how to test your windows for a great install.
First, see if the window sashes move easily. Make sure the locks work right, keeping the windows shut tight. This helps keep air in and out, saving energy.
- Ensure the window sashes open, close, and lock with ease.
- Inspect the window’s airtightness when closed to optimize energy efficiency.
- Confirm that the weep holes are clear and functioning correctly, allowing proper drainage.
Then, check the weep holes for water drainage. Make sure they’re open and working right. This keeps your windows weatherproof.
If you need to make changes, like shimming, do it now. This ensures your windows work well and last long. Testing your windows well means your home will be comfy, save energy, and last longer.
Window Maintenance Tips
Keeping your windows in good shape is key to making them last longer. Regular care not only keeps your home’s value up but also saves on energy bills. This is because clean windows help your home stay warm in winter and cool in summer.
Begin by cleaning the frames and glass with a mix of mild soap and water. This stops dirt and grime from damaging the materials. For vinyl windows, a water and vinegar solution works well. It’s good for the environment and gets the job done.
- Clean window frames and glass with mild soap and water solution
- Use a homemade window cleaner of water and vinegar for vinyl windows
- Lubricate moving parts annually with a silicone-based lubricant
Don’t forget to oil the hardware. Use a silicone-based lubricant on hinges and locks once a year. This keeps them running smoothly and prevents them from sticking.
It’s also vital to check your windows for damage or wear. Look at the weatherstripping and caulking around the frames. Replace them if needed to keep air out. Watch for condensation between the panes of double-paned windows. This could mean a broken seal and lost insulation.
- Inspect weatherstripping and caulking around frames annually
- Check for condensation between double-paned windows, a sign of broken seals
- Perform regular maintenance on window sashes to keep them functioning properly
By sticking to these maintenance tips, your windows will last longer. They’ll keep your home energy-efficient and valuable for years to come.
Troubleshooting Common Installation Issues
Replacing windows can come with some common problems. Issues like window alignment, sealing, and operation can mess up your project. But, with the right fixes, you can solve these problems and enjoy your new windows.
Alignment Problems
Getting your windows aligned right is key for looks and function. If the frame is off, it can cause problems like sticking or gaps. Make sure to level and shim the window during install for a good fit.
Use a level and shims to adjust as needed. This ensures the window fits well and is square in the opening.
Sealing Issues
Bad sealing can lead to drafts and energy loss. If you see gaps, re-caulk with a good sealant. Also, check the weatherstripping and replace it for a tight seal.
Operation Difficulties
Issues with opening or closing your window might mean something’s wrong. Look for blockages or binding that could be the problem. Make sure the balance systems, like springs, are working right.
If problems persist, check the manual or get help from a pro.
Fixing these common problems can make your new windows work better. They’ll save energy, look great, and work smoothly. Always follow the manufacturer’s advice and ask for help if needed.
DIY vs Hiring a Professional For Window Replacement
Homeowners face a big choice when it’s time to replace windows. Should they do it themselves (DIY) or get a professional? Each option has its own good points and things to think about.
DIY window replacement can save a lot of money. But, it needs skill, tools, and a lot of time. If done wrong, it can cause air leaks, damage, and void warranties. Professionals, however, ensure a good fit, seal well, and last longer.
Many window makers, like Renewal by Andersen, need pros to install to keep warranties valid. They know how to measure, prepare, and finish the job right. They also handle any unexpected problems.
Another thing to think about is safety. Installing windows can be dangerous, especially at heights. Pros have the right gear and know-how to stay safe. DIY can be risky if you don’t have the right training and tools.
In the end, the choice depends on your skills, time, and comfort with DIY projects. If you want ease, a warranty, and safety, getting a pro is probably best.
Contact Budget Windows Today
Are your old, drafty windows letting in the cold and driving up your energy bills? Don’t settle for less – upgrade to high-performance double hung windows from Budget Windows. Our expert team can precisely measure your existing window frame, upper sash, lower sash, and sill angles to ensure a perfect fit for new insulated glass units.
We offer a wide selection of durable vinyl replacement windows and sash kits that slide effortlessly in the metal jamb liners, sitting flush and window tight. No need to replace the entire old window frame – our skilled installers can swap out the old sash with new, slightly smaller double hung units, using a sharp utility knife and stiff putty knife to make a seamless transition.
Break free from those drafty, energy-wasting original windows – contact the window specialists at Budget Windows today and transform your home with our top-quality products and expert installation. Visit your local home improvement store or call us now to get started!
Conclusion
Replacing windows can change your home for the better. It makes your home look and feel more efficient. You can do it yourself or get a pro to help.
Choosing the right windows can save you money on bills. It also makes your home greener. Plus, new windows can make your home more valuable.
Keeping your new windows in good shape is key. It helps them last longer and keeps your investment safe. With the right care, your windows will keep your home cozy and bright for years.
FAQs
What are the advantages of using vinyl replacement windows over the existing frame?
Vinyl replacement windows are a popular choice because they are durable, energy-efficient, and can be installed without having to replace the entire existing frame.
How do I properly measure the old window to ensure a good fit for the new vinyl replacement windows?
To get the right measurements, measure the width of the existing frame at the top, middle, and bottom, and use the smallest width. Then measure the height at the left, center, and right sides, using the smallest height. Also, take diagonal measurements to ensure the opening is square.
What is the purpose of using a foam rubber backer rod and low-pressure sealant when installing the new vinyl replacement windows?
The foam rubber backer rod and low-pressure sealant help create a tight, weatherproof seal around the new vinyl replacement windows. This prevents air and water leaks, improving the home’s energy efficiency.
How do I properly install the new vinyl replacement windows into the existing window frame?
First, clean the existing opening and apply flashing tape. Then, place the new vinyl replacement window into the opening, using shims to level and square it. Secure the window with screws, making sure the top and bottom sashes operate smoothly.
What maintenance tips should I follow to keep my new vinyl replacement windows in good condition?
Regularly clean the frames and glass with a mild soap and water solution. Check the weatherstripping and caulking around the frames, replacing them if needed. Also, lubricate the moving parts, like the window jamb liners, annually to keep them functioning properly.