How to Measure a Pane of Glass for Replacement: A Complete Guide
Replacing old windows can make your home more energy-efficient and valuable. Getting the measurements right is key for a good window replacement job. This guide will help you measure a pane of glass for replacement. It covers everything from understanding window parts to taking precise measurements and avoiding mistakes.
Key Takeaways
- Older windows often lack energy efficiency, increasing utility costs and reducing home value.
- Measure window width and height at multiple points for accurate dimensions.
- Ensure a minimum 3 1/4 inch opening depth for a seamless replacement window fit.
- Carefully measure irregular window shapes, such as curves and unusual angles.
- Always measure the window opening, not the existing frame, for proper replacement.
Understanding Window Glass Replacement Basics
Replacing a window’s glass means knowing the different types of glass. You also need to know why you might need a new one and what tools you’ll need. It’s important to understand a window’s parts like the frame and sash for a good fit.
- Types of Window Glass: There are mainly three types of window glass: single-pane, double-pane, and tempered glass. Double-pane windows are more complex but save energy. Tempered glass is safer and lasts longer.
- Common Reasons for Glass Replacement: Windows need new glass for many reasons. This includes being inefficient, damaged, or just wanting a new look. Cracks or fog can hurt your home’s energy and look. New glass can make your home more energy-efficient and save money.
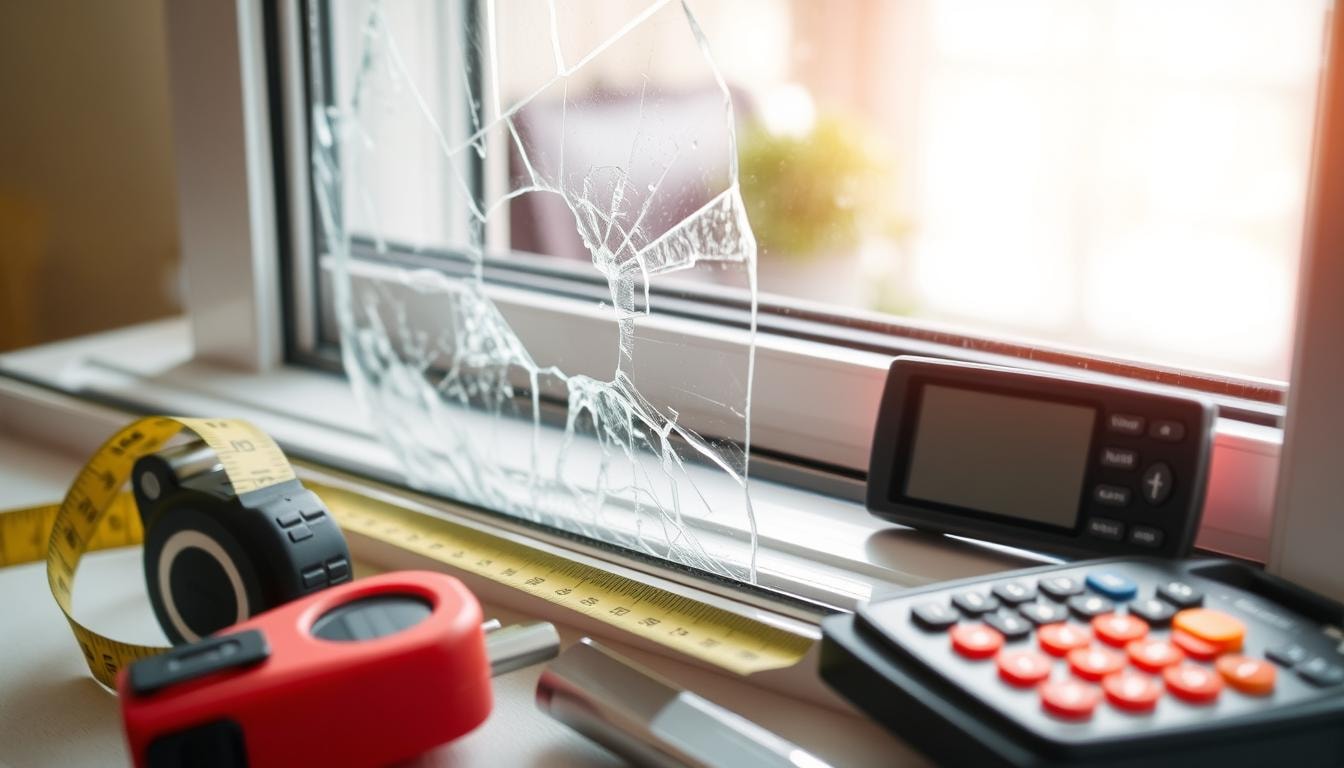
- Tools Required for Measurement: Getting the right measurements is key for new glass. You’ll need a tape measure, level, straight edge, notepad, and pencil. Remember to subtract a little from each measurement for a perfect fit.
Knowing the basics of replacing window glass helps homeowners. It covers the types of glass, why you might need a new one, and what tools you’ll need. This knowledge makes updating your windows easier.
Safety Precautions Before Measuring
Before you start measuring your window, it’s key to take safety steps first. Safety is most important when working with glass, especially if it’s broken. A few simple steps can help you measure safely and without worry.
First, wear the right safety gear. This means gloves to protect your hands and safety glasses for your eyes. These simple items can greatly reduce the risk of injury.
If you need to reach high windows, use a sturdy ladder or step stool. Never climb on the building itself, as it’s dangerous and can damage it. Also, clean the window area of any loose glass or debris before measuring.
By following these safety tips, you can lower the risks of measuring a window, especially with broken glass. Always put your safety first in any home project.
Essential Tools and Materials Needed
Replacing a pane of glass needs the right tools and materials. You’ll need precise measuring tools and safety gear. Having the right tools makes the job easier and safer.
- Measuring Equipment: Getting the right measurements is key when buying a new glass pane. You’ll need a tape measure, a level, and a straight edge or ruler. These tools help you get the exact size of the old glass for a perfect fit.
- Safety Equipment: Working with glass means you must be safe. You’ll need gloves to protect your hands, safety glasses for your eyes, and a stable ladder if you need to reach the window.
- Recording Materials: It’s important to write down your measurements carefully. Use a notepad and pencil to record the sizes. A calculator helps you check your math. Use a highlighter for the smallest measurements, as they’re the most important for a good fit.
With the right tools and materials, replacing a glass pane is easier and safer. This way, you avoid mistakes and get a perfect fit for your new window.
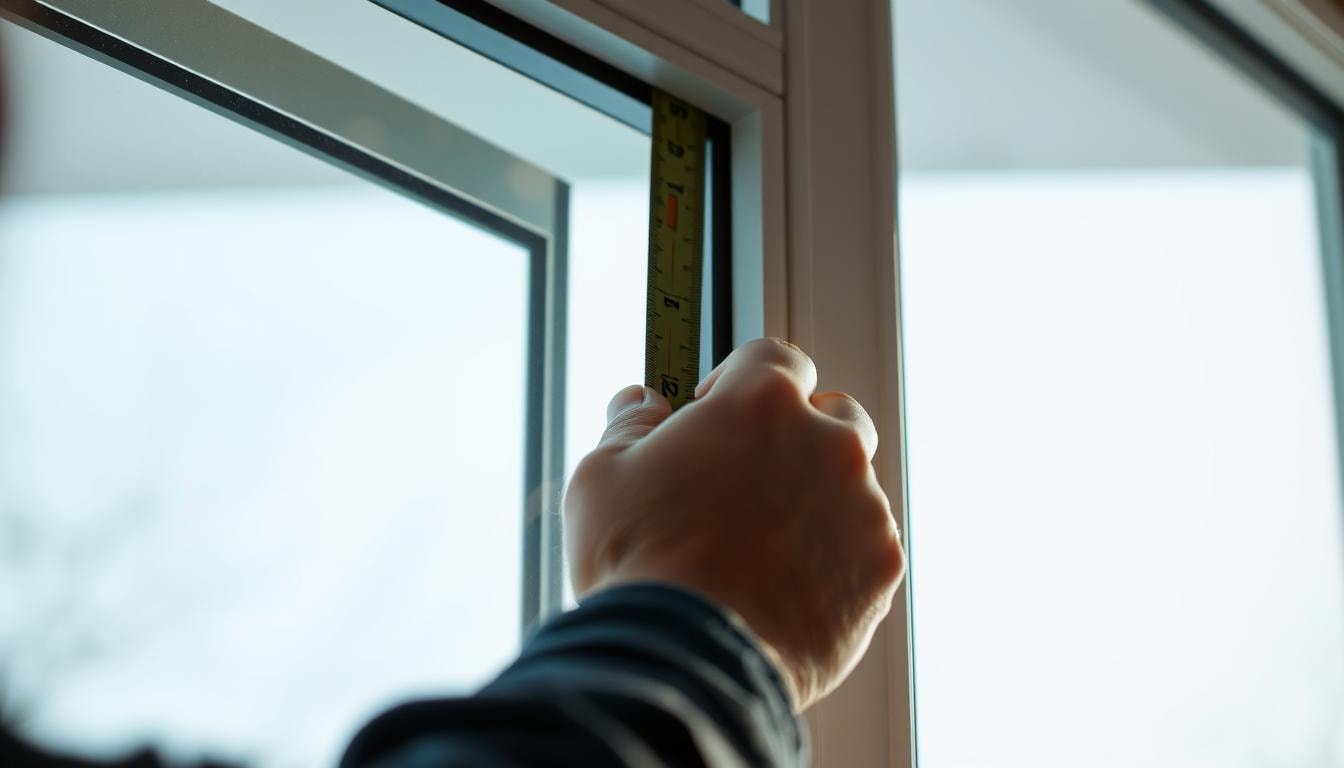
Taking Horizontal Measurements
Measuring the width of your window is key in the glass replacement process. You should measure at the top, middle, and bottom of the frame. This helps catch any changes in the building over time.
Top Width Measurement
Begin by measuring the width at the top of the window frame. This is below the header or sill. This measurement is important for ordering a replacement pane.
Middle Width Measurement
Then, measure the width in the middle of the frame. Ignore any trim or decorations. This middle measurement helps confirm the smallest width you found at the top.
Bottom Width Measurement
Lastly, measure the width at the bottom of the frame. This is just above the sill or window jambs. Comparing this to the top and middle measurements gives you the most accurate size.
By taking these measurements and choosing the smallest, you can be sure the new glass will fit perfectly. This is true even if the building changes or has irregularities.
Measuring Vertical Dimensions
Getting the height of a window right is as key as the width. Start by measuring the height at three points: left, center, and right. Take each measurement and use the smallest one as your final height.
Make sure to remove any range jamb liners before measuring. This ensures you get an accurate reading. For windows that aren’t straight, like arched or angled ones, measure from the farthest points to get the full height.
Getting the height of a window right is vital. It helps your new window fit perfectly, keeps air leaks out, and keeps your home comfy. By being careful, you can make sure your new window fits your window opening just right.
- Measure the window height at three points: left side, center, and right side of the opening.
- Remove any range jamb liners before taking measurements.
- For non-rectangular windows, measure the extremes in distance.
- Use the smallest height measurement as your final dimension.
Getting the height of a window right is key for a good fit. It stops air leaks and keeps your home comfy and energy-efficient. By following these steps, you can make sure your new window fits your window opening perfectly.
Understanding Window Frame Components
When you want to replace a window, knowing the parts of a window frame is key. The main parts are the jambs, sill, header, and trim. Knowing these will help you measure right and pick the best window.
Window Jambs
The jambs are the vertical sides of the frame. They hold the sash and glass. It’s important to measure the jamb width at the top, middle, and bottom for accuracy.
Sill and Header
The sill is the bottom part of the frame, and the header is the top. Measuring these widths is as important as the jamb. They help choose the right window size.
Trim and Stops
Trim and stops are the decorative and functional parts around the frame. Trim includes the apron and casing, and stops hold the sash. Measuring them helps ensure the new window fits perfectly.
Knowing the parts of a window frame helps you measure accurately. This ensures a perfect fit for your new window. It makes installation easier and improves your window’s performance and energy efficiency.
Checking for Square Corners
It’s very important to make sure your window frame is square when you’re getting a new window. You need to measure diagonally to check if the corners are square. Measure from the top-left to the bottom-right corner, and then from the top-right to the bottom-left corner.
These two measurements should be almost the same. They should only be off by 1/4 inch for a standard window to fit right.
Also, use a level to check if the window is straight up and down, and straight side to side. This helps you know if a standard window will fit or if you need a custom one.
- Measure the diagonal distances corner-to-corner.
- Compare the two diagonal measurements; they should be within 1/4 inch of each other.
- Use a level to check if the window is plumb and level.
Checking for square corners and leveling the window frame is worth the effort. It prevents problems with a new window. This step makes sure your new window fits perfectly and installs easily.
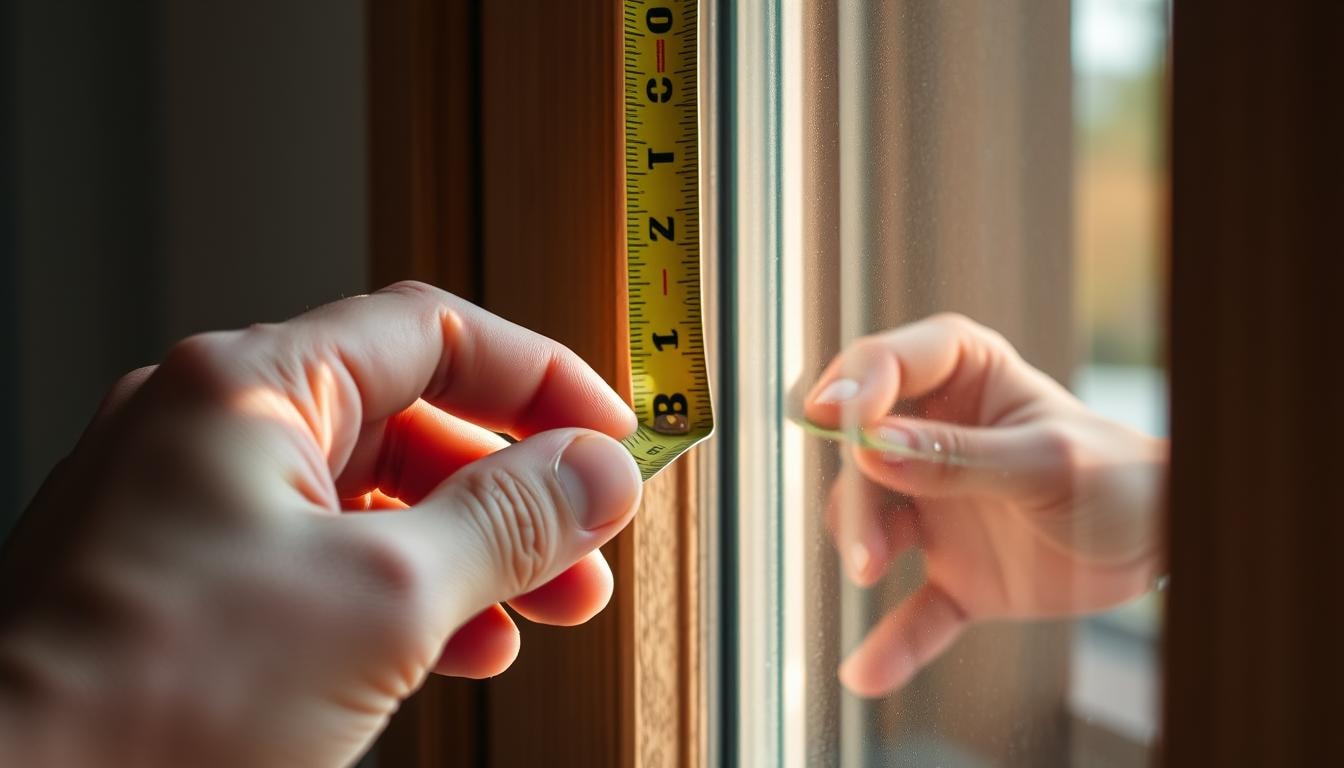
Measuring Window Depth
When you’re getting ready to replace your windows, it’s key to measure the depth right. The depth of the window, or jamb depth, is how far from the inside trim to the outside blind stop strip. This is important for fitting the new frames well.
To measure the window depth, follow these steps:
- Measure from the inside trim to the outside blind stop strip. Make sure it’s at least 3 1/4 inches for the new frames.
- Don’t worry about pulleys or parting strips. They’ll be taken out when the frames are put in.
- Check that the depth is the same at the top, middle, and bottom of the window.
Getting the window depth right is key for a good fit and saving energy. If the jamb depth is too short, the replacement window frames won’t fit right. This can cause air leaks and lower energy efficiency.
Talking to a pro window installer is a good idea. They can help with tricky windows or old homes. They’ll know how to measure right and make sure the installation goes smoothly.
Recording and Verifying Measurements
Getting the right measurements is key when you replace a glass pane. Before you place your order, make sure to write down your findings carefully. This careful step helps prevent mistakes and makes the installation smooth.
Documentation Methods
Write your measurements in a notebook, not on loose paper. This keeps your notes tidy and simple to find. Remember to note where each window is, like “bedroom, facing backyard.” This helps match the new glass to the right window.
Double-Checking Process
- Measure each part several times for exactness. It’s safer to round down to the nearest 1/8 inch.
- Check your notes again to make sure all measurements are right and match.
- Ask someone else to check your work for extra confirmation.
Spending time on precise measurements, documentation, and verification is worth it. It helps you avoid expensive mistakes and ensures the new glass fits perfectly.
Common Measurement Mistakes to Avoid
Replacing a window can seem easy, but getting the measurements right is key. Mistakes in measuring can lead to big problems. Knowing these common errors can help you avoid them and have a successful replacement.
One mistake is measuring from the trim, not the window jambs. This can give you wrong sizes, causing the new window to not fit right. Always measure the width and height of the window opening itself, not the trim around it. Also, forgetting to measure the window’s depth can cause problems with fitting the new window into the frame.
- Measure from the window jambs, not the trim.
- Don’t forget to measure the window depth.
- Take multiple measurements for each dimension – top, middle, and bottom.
Another error is using just one measurement for each side. Windows can be a bit off square. So, measuring at the top, middle, and bottom is important. This ensures the new window fits well and is installed correctly.
Thinking all windows in one room are the same is another mistake. Even in the same room, windows can be slightly different. It’s important to measure each window separately. This is especially true for unique shapes like arches or circles, which might need a pro to measure and install.
By avoiding these common mistakes and following good practices, you can get accurate measurements. This will help your window replacement project go smoothly. Remember, taking the time to measure right can save you from future problems.
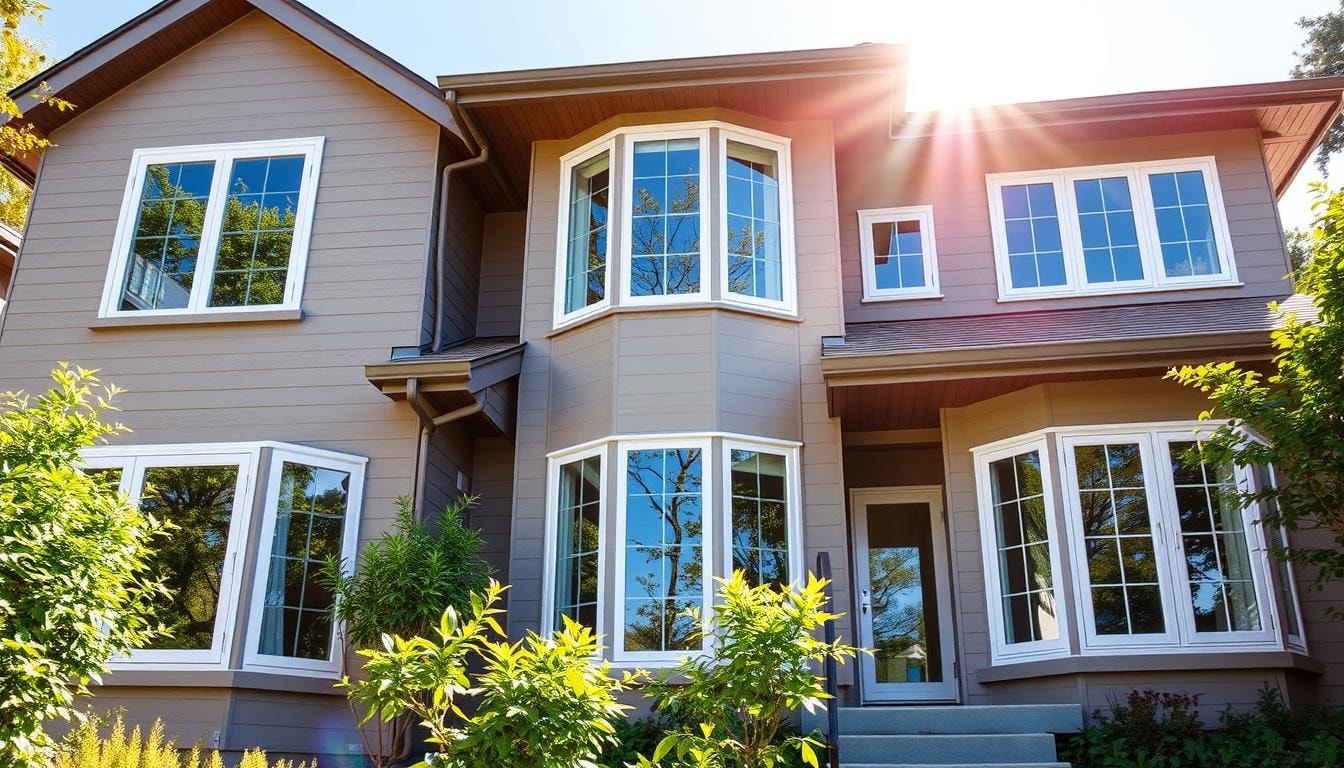
Understanding Standard Window Sizes
Knowing standard window sizes is key when replacing or installing new windows. These sizes are common for different types like single-hung and casement. They help you see if your windows need standard sizes or custom ones.
Window sizes vary by type. Bathroom windows are usually 24 to 36 inches wide and 36 to 72 inches tall. Kitchen double-hung windows are 24 to 48 inches wide and 36 to 72 inches tall. Casement windows range from 14 to 35.5 inches wide and 17 to 73 inches tall.
Even small size changes might mean you need custom windows. Knowing standard sizes helps you choose between standard or custom windows. Standard windows are cheaper because they’re made in bulk.
- Standard horizontal window widths: 36, 48, 60, 72, or 84 inches
- Standard horizontal window heights: 24, 36, 48, or 60 inches
- Standard single-hung window widths: 24, 28, 32, 40, 44, or 48 inches
- Standard single-hung window heights: 36, 44, 48, 52, 54, 60, 62, or 72 inches
- Standard double-hung window widths: 24, 28, 32, 40, 44, or 48 inches
- Standard double-hung window heights: 36, 44, 48, 52, 54, 60, 62, or 72 inches
- Standard casement window widths: 16, 20, 24, 28, 32, 36, 40, 44, or 48 inches
- Standard casement window heights: 24, 36, 48, 54, 60, 72, or 84 inches
Learning about standard window sizes helps you make better choices for your project. It makes the process smoother and more affordable.
When to Call a Professional
Measuring and replacing a standard window pane can be done by yourself. But, there are times when you should get a professional. This is true for custom windows or historic preservation projects. They need special knowledge and skills.
Complex Window Configurations
Windows with fancy designs, like bay windows or bow windows, need a pro. They have unique shapes that require careful measurement. You also need to think about height, width, depth, and glass thickness for a perfect fit.
Historic Windows
Historic preservation is another area where experts are key. Old windows in historic homes have special needs. They might need specific glass types or muntins to keep the house’s look. Professional window measurement experts can guide you on how to replace or restore these windows.
Professionals can also help with energy efficiency. They can suggest the best windows for your home. This helps you make smart choices for your window replacement project.
Cost Considerations and Budgeting
When planning to replace your windows, think about more than just the glass. The total cost includes the frame, energy-saving features, and installation fees. Knowing these costs helps you plan a budget that saves money in the long run.
Replacing windows can cost between $450 and $1,700 per window. For a house with 25 windows, this could be $11,250 to $42,500. Costs vary based on the type of window, frame material, and energy-saving features.
- Double-hung windows typically cost $150 to $2,000 per window.
- Single-hung windows range from $100 to $2,000 per window.
- Sliding windows can cost $150 to $1,800 per window.
- Bay windows range from $900 to $7,100 each.
- Casement windows can cost $150 to $2,500 per window.
- Picture windows range from $200 to $2,000 per window.
The frame material also affects the cost. Vinyl frames are the cheapest, costing $200 to $1,700 per window. Wood frames cost $150 to $2,000 per window. Fiberglass and aluminum frames are in between.
Choosing energy-efficient windows may cost more upfront. But, they save money on energy bills in the long run. You might even get a tax credit of up to $600 for Energy Star Most Efficient windows.
When budgeting, get quotes from trusted companies. Make sure they include on-site measurements. Accurate measurements avoid extra costs and help stay within your budget.
Get the Perfect Fit with Budget Windows
Are your home windows in need of glass replacement? Don’t settle for a poor fit – let the experts at Budget Windows handle it. Our skilled technicians will accurately measure the window’s rough opening, including both the width and the height, taking three measurements on each side to ensure the final width and height are just right.
We’ll carefully remove any existing trim strips, parting beads, or broken pane, and custom-order replacement glass of the same type to fit your window’s rough opening perfectly. With Budget Windows, you’ll get high-quality glass windows at a reasonable price, without the hassle of measuring the glass yourself. Contact us today and let our professionals handle your window glass replacement needs.
Conclusion
Getting your windows measured right is key to a successful glass replacement. It helps make your home more energy-efficient and comfortable. While you can measure windows yourself, experts are better for tricky or old windows.
Replacing a window or upgrading your whole system starts with the right measurements. Knowing how to measure and replace windows helps you make smart choices. This way, you can get the look and feel you want, whether you do it yourself or get help from a pro.
Spending time on accurate measurements is worth it. It ensures your new windows fit perfectly and work well. With careful planning, your home will look and feel great. You’ll enjoy better energy use, comfort, and style.
FAQs
Why is it important to measure a pane of glass for replacement accurately?
Accurately measuring the glass is crucial to ensure a proper fit for the replacement pane. This helps maintain your home’s energy efficiency and appearance.
How should you measure the width of the window opening?
Measure the width at the top, middle, and bottom of the window opening. Use the smallest width measurement as the final dimension for the replacement glass.
What should you do if the window has an irregular shape like curves or angles?
For windows with unique shapes, carefully measure the glass portion at multiple points to get the exact dimensions. This ensures the replacement glass fits perfectly.
How can you verify the accuracy of your window measurements?
Take the measurements multiple times and write them down. Have someone else double-check your work to ensure accuracy. This prevents mistakes when ordering the replacement glass.
When should you consider contacting a professional for window glass replacement?
For complex window configurations, historic preservation projects, or to maximize energy efficiency, it’s best to consult a professional. They have the expertise to properly measure and install the replacement glass.