How to Install Window Casing for Vinyl Siding
Installing window casing for vinyl siding is a project that needs some skill. It can take 1-2 hours per window and costs about $50 and up. You’ll need to remove old trim, put in a new vinyl windowsill, and add casing and molding.
This project makes your home look better by adding back architectural details. These details were often lost when vinyl siding was installed in the 1970s. It also keeps your home easy to maintain.
Key Takeaways
- Moderate skill level project requiring patience and practice
- Approximate cost of $50 and up per window
- Estimated time of 1-2 hours to complete per window
- Restores architectural details lost during previous vinyl siding installations
- Maintains low-maintenance benefits of vinyl siding
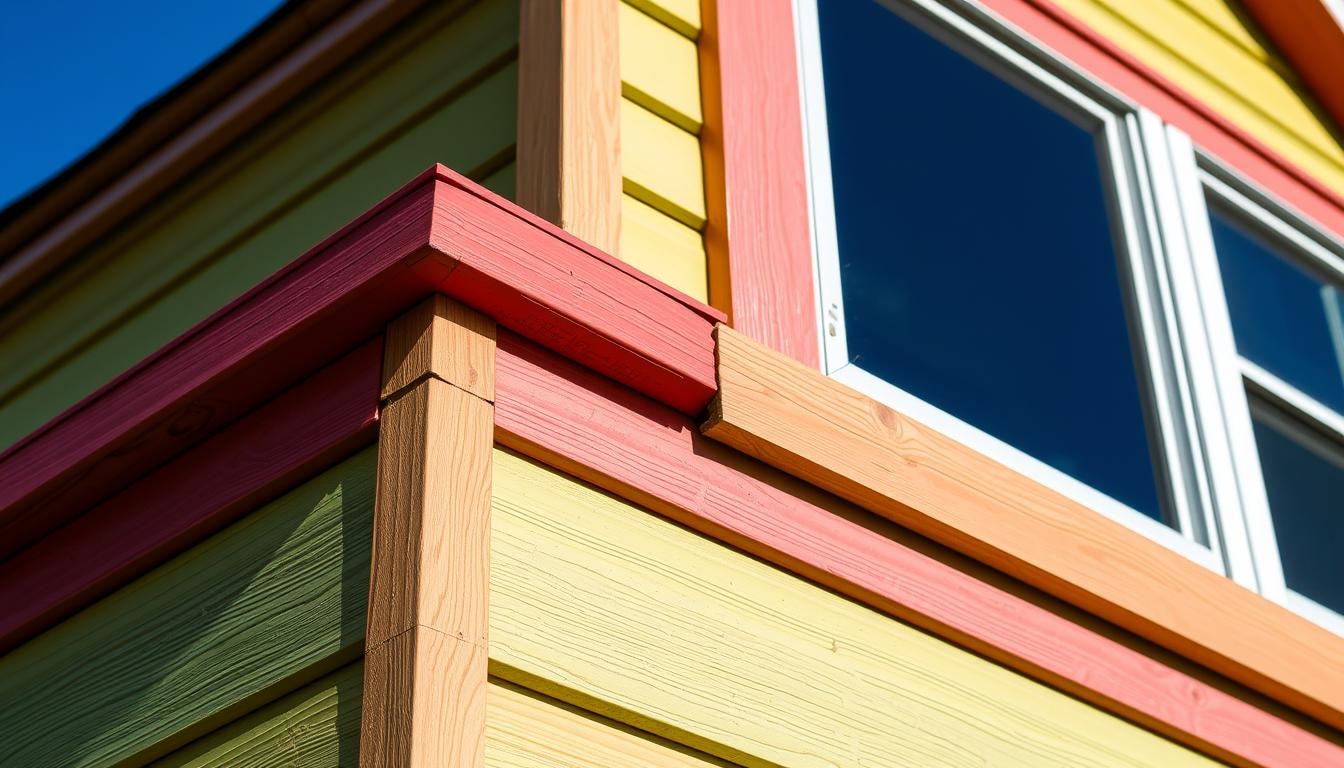
Understanding Window Casing Installation Basics
Window casing, or trim, is the decorative frame around a window. It adds a finished look and has practical benefits. Installing it right is key for better energy use, keeping moisture out, and making your home look better.
What is Window Casing?
Window casing is the trim or molding around a window’s edge. It fills the gap between the window and the wall, making it look smooth and nice. You can choose from wood, vinyl, or aluminum for the casing, which is put in during window installation or as a separate job.
Benefits of Proper Installation
- It makes your home more energy-efficient by sealing air leaks.
- It helps keep out weather and moisture.
- It boosts your home’s curb appeal and gives it a polished look.
- It lets you match the window with your siding and j channel installation for a unified look.
Project Overview and Timeline
Installing window casing takes about 1-2 hours per window. It involves steps like removing old trim or drip edge, getting the window ready, putting in new vinyl parts, and fitting the casing with the existing siding and around windows. With the right tools and skills, you can get a professional finish that makes your windows look and work better.
Essential Tools and Materials Needed
Getting ready for vinyl window casing installation means having the right tools and materials. You’ll need things like roofing nails and nail flange. Also, don’t forget the trim pieces.
The main materials you’ll need include:
- End caps for the window sill
- Finish nails
- J-channel
- Replacement vinyl siding pieces
- Vinyl casing cover
- Vinyl colonial molding
- Vinyl siding adhesive
- Vinyl window sill
For tools, make sure you have these:
- Aluminum coping jig
- Aviation snips
- Caulk gun
- Drill/driver
- Hammer
- Level
- Pencil
- Pry bar
- Tape measure
- Tin snips
Choose materials from the same brand for best results. This ensures everything fits well and looks good together. With the right tools and materials, your vinyl window casing installation will go smoothly.

Preparing Your Window for Installation
Before you can install your new vinyl window casing, you need to prepare the window area. This means removing any old trim or j-channel. You also need to make sure the surface is clean and level. And don’t forget to take important safety precautions.
Removing Existing Trim and J-Channel
Start by carefully removing any storm windows, vinyl siding, and j-channel around the window. Use a flat pry bar and utility knife to do this without harming the structure. Make sure to remove the top edge, bottom edge, and side j-channels well.
Surface Preparation Steps
- Check the window opening for rotting wood, uneven surfaces, or other issues. Fix these problems before you start installing.
- Clear the area of any debris or obstructions. Lay down drop cloths to protect the surrounding area.
Safety Considerations
Always wear safety gear like gloves and goggles when preparing the window. This will help protect you from potential dangers. Make sure to take all necessary precautions for a safe installation.
By removing old trim and j-channel, fixing any surface issues, and focusing on safety, you’re ready for a successful vinyl window casing installation.
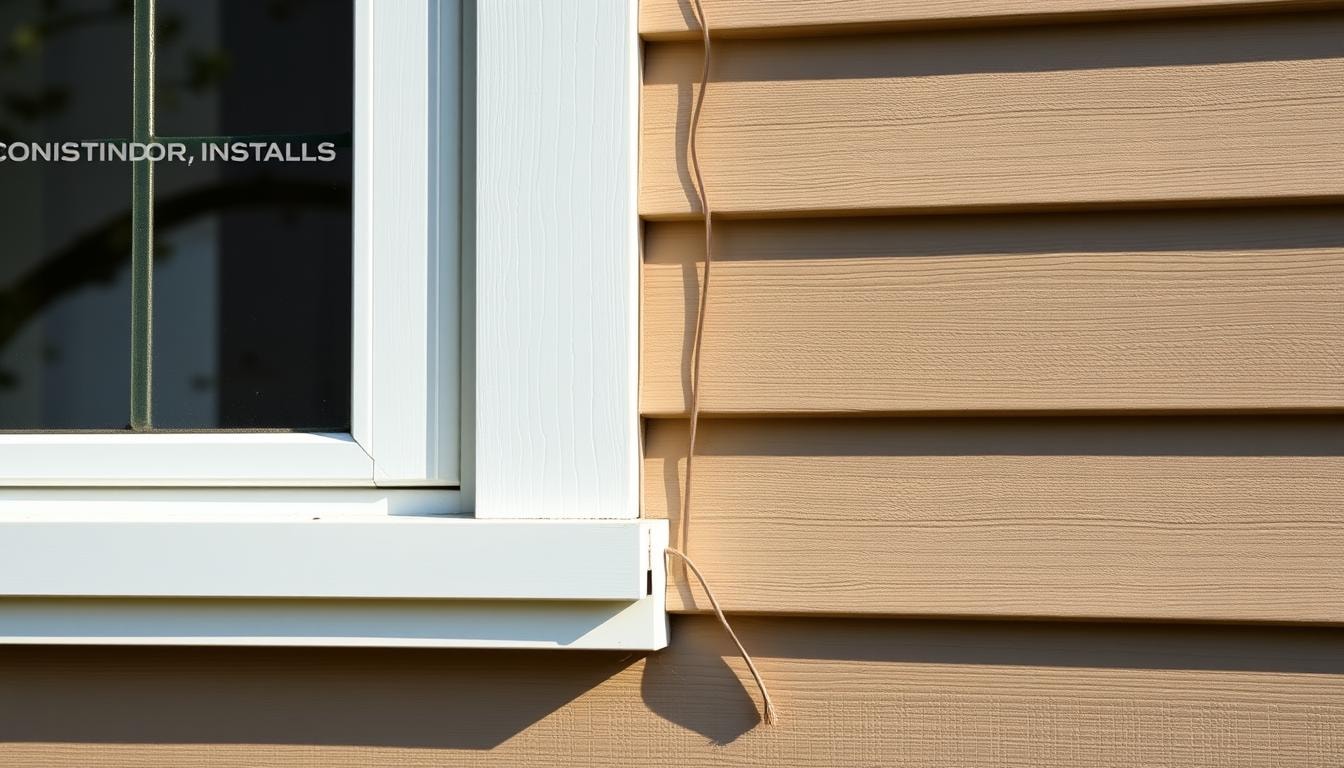
Installing the Vinyl Window Sill
Installing vinyl siding needs careful attention to the window sill. It makes your home look better and keeps water out. It also fits well with the new vinyl trim.
- Measuring and Cutting the Sill: First, measure the wooden sill and the window opening. Cut the vinyl sill to fit, leaving a few inches on each side. Use tin snips to make notches for a tight fit.
- Securing the Sill in Place: Apply caulk or sealant to the top of the wooden sill. This makes a watertight seal. Then, place the vinyl sill and secure it with nails. Make sure it’s level and tight.
- Adding End Caps: Finish by attaching vinyl end caps with adhesive. This improves the finish and keeps water out. It also keeps the trim looking clean.
Getting the measurements right and installing the vinyl window sill correctly is key. Follow these steps for a great result. You’ll get a smooth fit with your new j channel, windows, and siding.
J-Channel Installation Techniques
Installing vinyl siding around windows and doors is key. The J-channel helps make the finish smooth and watertight. Measure and cut the top piece of the J-channel to fit perfectly around the window or door.
Use galvanized nails or screws to secure it. Make sure to leave space for expansion and contraction with temperature changes.
To stop water from getting in, the J-channel must be aligned and attached well. Don’t over-tighten the fasteners. This can make the channel buckle or warp. Follow the manufacturer’s advice for spacing and placement of nails or screws.
When cutting the J-channel, leave a small gap at the bottom. This allows for water drainage and prevents moisture buildup. It also lets the channel expand or contract over time. Make sure the overlap between pieces is tight to keep the channel strong and prevent water from getting in.
By following these steps, you can get a professional-looking finish. This protects your windows and doors from water damage. Always check the manufacturer’s instructions and local building codes for the best results.
Integrating Casing with Existing Siding
It’s important to fit the new window casing with your siding well. Start by measuring and cutting vinyl siding to fit around the window casing. Then, slide each piece into the J-channel and nail it down with roofing nails.
Use caulk where the new casing meets the window frame. This creates a tight seal and keeps water out.
Proper Flashing Methods
Flashing is key to keeping the window dry. Make sure to overlap the house wrap by at least 6 inches. This keeps moisture and air leaks out.
Experts use products like DuPont’s FlexWrap or Henry’s Blueskin VP100. These make a strong, waterproof barrier.
Weatherproofing Techniques
- Cut the siding carefully to fit around the window casing, avoiding gaps.
- Apply a lot of caulk where the casing meets the siding. This seals it tight.
- Make sure the house wrap goes 12 inches beyond the window frame. This gives good coverage and protection.
- Choose UV-resistant house wrap like Tyvek or Typar. They last longer and work better.
By following these steps, you’ll get a professional, weatherproof finish. This will make your home look better and save energy.
Professional Tips for a Polished Finish
To get a perfect vinyl window casing, pay close attention to details and use the right methods. First, use a level to make sure your casing is straight. This will give your project a clean, even look.
For the final touches, paint any nail heads to match your vinyl siding. This makes the fasteners invisible and keeps your look smooth. Don’t forget to leave a small gap, about 1/8 inch, for vinyl to move with temperature changes.
- Avoid over-driving nails, as this can cause the vinyl to buckle or crack.
- Apply a generous amount of caulk to all corners and joints, then smooth it with a finger or caulking tool for a professional finish.
- Allow the caulk to cure fully according to the manufacturer’s instructions before painting or applying any additional finishes.
Using these expert tips, you can make your vinyl window casing a standout feature. A polished finish will make your home look better and increase its value.
Get the Best Window Solutions with Budget Windows
Are you ready to improve your home’s exterior with new window casing and siding? At Budget Windows, our experts are here to guide you through the process of installing window flashing, drip caps, and j channels to ensure your windows are perfectly sealed against the elements. Contact us today for expert advice and professional solutions to keep your home safe and beautiful.
Conclusion
Installing window casing for vinyl siding is a smart move. It makes your home look better and work better. With the right tools and a bit of planning, you can do it in just one afternoon.
This will give your home a shiny, weather-proof look. It will also make your home more attractive and valuable.
Don’t forget to use flashing, sealants, and weatherproofing. This makes your installation last longer and stay strong. By using the best materials and following good practices, your project will look amazing and last for years.
Whether you love DIY projects or you’re a pro contractor, adding window casing is a wise choice. It makes your home’s exterior look neat and inviting. This boosts your home’s value and appeal.
FAQs
What is window flashing and how does it help?
Window flashing is a material used to prevent water infiltration. It is installed around windows to keep water from entering and damaging your home.
How do I install the drip cap for my window casing?
To install the drip cap, ensure it covers the top edge of the window. This piece helps direct water away from the window to prevent water infiltration.
How do I handle the bottom j channel during installation?
When installing the bottom j channel, make sure it aligns with the bottom end of the window. Leave a gap for proper drainage and water prevention.
What is the purpose of the upper piece in the j channel installation?
The upper piece of the j channel fits over the top j channel and helps secure the new siding. It’s important for proper water drainage and preventing water infiltration.
How do I measure the width and depth for installing j channel?
Measure the width of the window frame and the depth of the j channel carefully. Mark the spots where you’ll cut and install the j channel, ensuring a tight fit on the outer edge and other side.