How to Install a Picture Window: A Complete Installation Guide
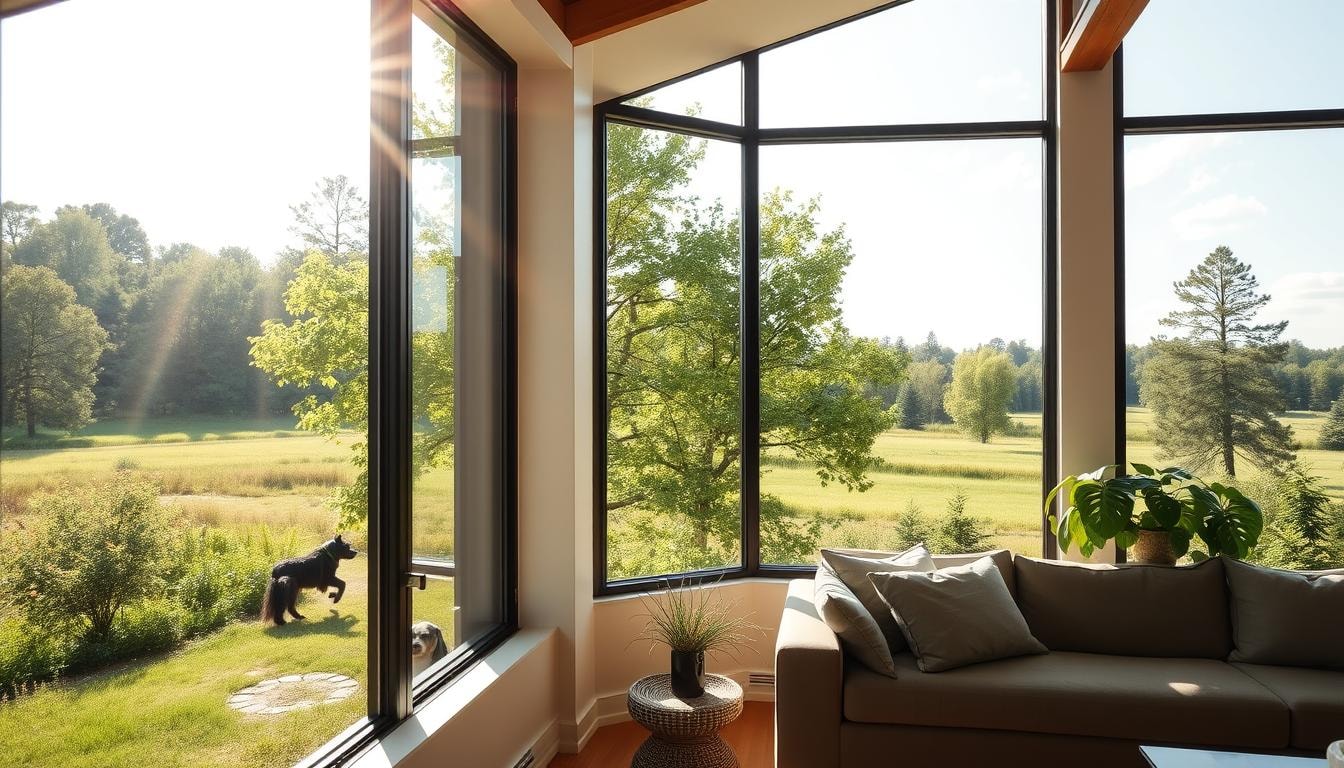
Picture windows are a favorite among homeowners. They bring in more natural light, make rooms more energy efficient, and look great. These big, custom windows give you a clear view outside, making your home feel more open.
They are a top pick in the window world. Picture windows can change how a room feels and even make your home more valuable.
Key Takeaways
- Picture windows offer maximized natural light and energy efficiency by eliminating the need for a meeting rail.
- They are completely sealed, reducing air escape and entry to help lower utility bills and decrease a home’s carbon footprint.
- Proper installation techniques are crucial for ensuring the seamless integration of picture windows into a home’s structure.
- Safety precautions should be taken, especially in homes built before 1978 that may contain lead paint.
- Tips and tricks, such as measuring diagonals and avoiding batt insulation, can aid in successful picture window installations.
Understanding Picture Windows and Their Benefits
Picture windows are known for being very energy efficient. They let in a lot of natural light and look great, which can even make your home more valuable. These big windows have large glass parts and little frames, giving many benefits to homeowners.
Energy Efficiency Advantages
Picture windows have a tight seal to keep air out. This means you use less energy and make less carbon dioxide. Even aluminum picture windows can be made to save more energy.
Natural Light Enhancement
The big glass of picture windows lets in lots of light. This makes your home brighter and more welcoming. It also improves the feel of your room, making it more beautiful.
Aesthetic Value and Property Worth
Picture windows have a modern look that makes your home look better. Their big views and smooth fit with the building can make your home more attractive to buyers. Getting high-quality picture windows can make your home more valuable and look better.
Essential Tools and Materials Needed
Getting ready for your picture window installation means you need the right tools and materials. Having everything you need will make the installation go smoothly. Let’s look at the main items you’ll need:
- Tape measure
- Pencil
- Shims
- Drill and drill bits
- #1 square drive hand screwdriver
- Utility knife
- Putty knife
- Square
- Level
- Hammer or mallet
You’ll also need the right materials for your window installation:
- High-quality silicone caulking (ASTM C920, Class 25)
- Caulking gun
- AAMA approved low-expanding window insulation foam (ASTM C1620)
Having all the tools and materials ready before you start will save you time. It lets you focus on the installation and get it done right.
Safety Precautions and Preparation
When you install windows, safety comes first. You need the right gear and a clean workspace. This ensures the job is done right and safely.
Required Safety Equipment
- Wear a hard hat to protect your head from falling objects or accidental bumps.
- Use safety glasses to shield your eyes from dust, debris, and flying particles.
- Wear work gloves to protect your hands from sharp edges and minimize the risk of cuts.
- Don a pair of slip-resistant work boots to maintain secure footing on the job site.
- Consider using a dust mask or respirator to filter out airborne particles, especially if working on older homes that may contain lead-based paint.
Workspace Setup Guidelines
Getting your work area ready is key for a smooth install. Clear the space around the window. Move any furniture or decor that might get in the way.
Protect the floor with a drop cloth or other covering. This prevents damage from tools, debris, or spills. Keep personal belongings and valuables in a separate room to keep them safe during the installation.
Risk Prevention Measures
- Inspect the window package for any visible damage before installation.
- Verify that the paperwork and product label match the actual window you received.
- Check for multiple packages if you ordered optional items or accessories.
- Follow the manufacturer’s instructions and local building codes to ensure proper and safe installation.
- Properly dispose of any waste materials according to local regulations, and contact your local recycling or waste management center for area-specific requirements.
By focusing on safety and preparing your workspace, you can ensure a successful project. Always use the right protective gear and keep your work area clean and organized. This helps avoid risks and makes the installation safe.
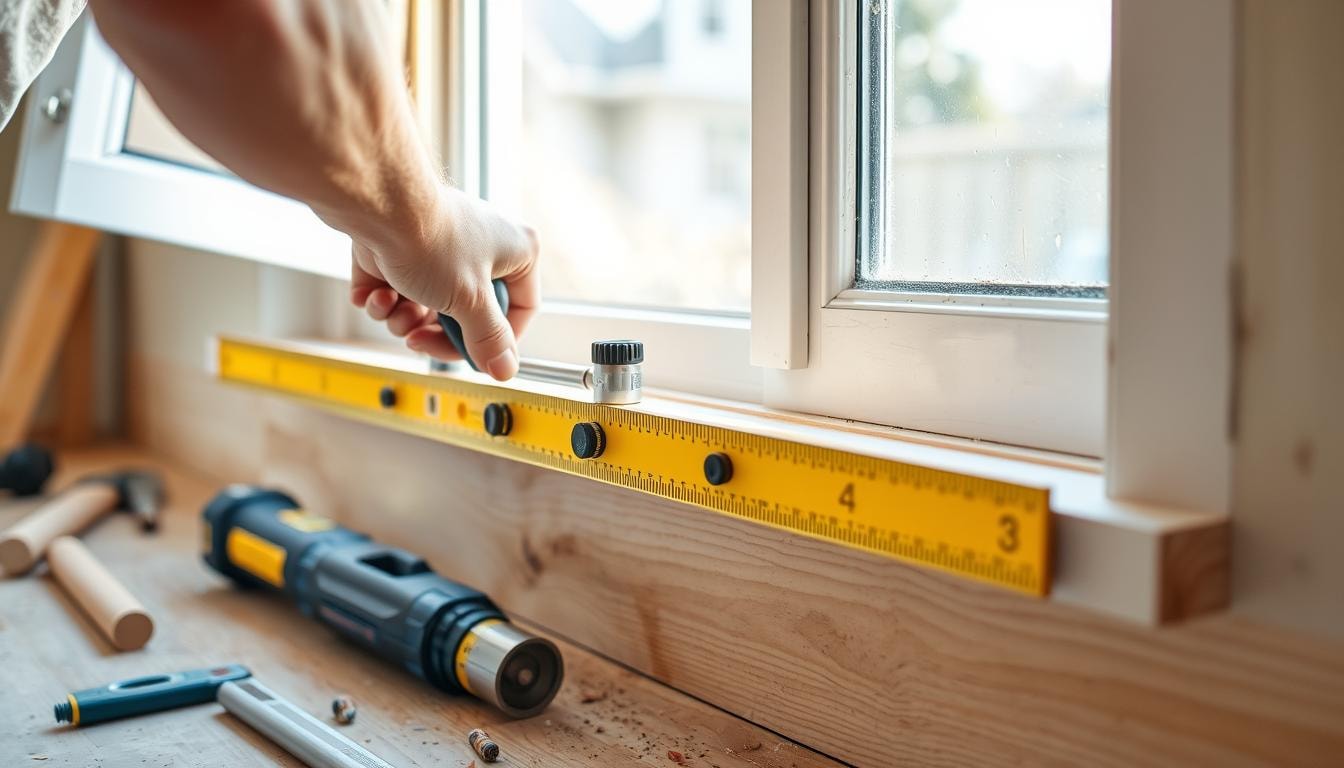
Measuring and Planning Your Window Installation
Getting the right window measurements is key for a good install. Start by measuring the window opening diagonally. Make sure to have a tolerance of no more than 1/8 inch. This helps find the perfect size for your new window.
For mulled window sets, plan to put shims under the jamb sides and at the mull locations. This helps with the fit.
Taking Accurate Measurements
Measure the width of the window at three points: top, middle, and bottom. Choose the smallest measurement for a good fit. For the height, measure from left, center, and right sides. Use the smallest reading.
Choosing the Right Window Size
Getting the right window size is crucial. For awning or casement windows, measure the width at the center. Measure the height vertically from trim to trim.
For single- or double-hung windows, measure the width from trim to trim in the middle. Then measure the height vertically from trim to trim.
Planning for Structural Support
Think about using a head expander if needed. Place batt insulation between the frame header and the expander. This supports the window and lets it expand and contract.
Also, plan where to put the exterior finish material. Make sure it can move with the window.
Removing the Old Window Frame
Starting a window replacement project means removing the old frame first. This step is key for a smooth new window install. Check the new window for damage before you start. If the old window is painted, keep the plastic cover on until it’s installed.
Be careful when taking out the old window to avoid damaging the wall. Use special foam to fill any gaps left behind. This foam meets strict standards to keep the wall strong for the new window.
- Disconnect the old window from the frame carefully to avoid wall damage.
- Remove screws, nails, or fasteners holding the frame to the wall.
- Pry the frame away from the wall, watching out for sharp edges.
- Clean the opening well, getting rid of old debris and sealants.
By following these steps, you can remove the old frame and get ready for the new window. This careful prep makes the replacement process easier and smoother.
Preparing the Window Opening
Getting the window opening ready is key for installing a picture window. You need to clean the frame, check for damage, and make sure it’s level. This ensures the new window will fit well and work right.
Cleaning and Inspecting the Frame
Begin by cleaning the window opening well. Remove dirt, debris, and anything that might block the way. This helps you spot any problems with the frame.
Look closely at the frame for damage or rot. Fix any issues you find before you start installing the window.
Making Necessary Repairs
If the frame looks good, you can move forward. But if you see cracks, holes, or rot, fix them first. You might need to replace parts or strengthen the frame for a solid installation.
Creating Level Surfaces
To get the new window to fit right, make sure the surfaces are level. Use wedge shims on each side of the opening. Place them every 12 inches, but don’t tilt the sill in.
For mulled sets, add shims under the jamb and mull. If you’re using foam under the sill, use thicker shims to keep it flat.
By doing these steps, you’re ready for a smooth picture window installation.
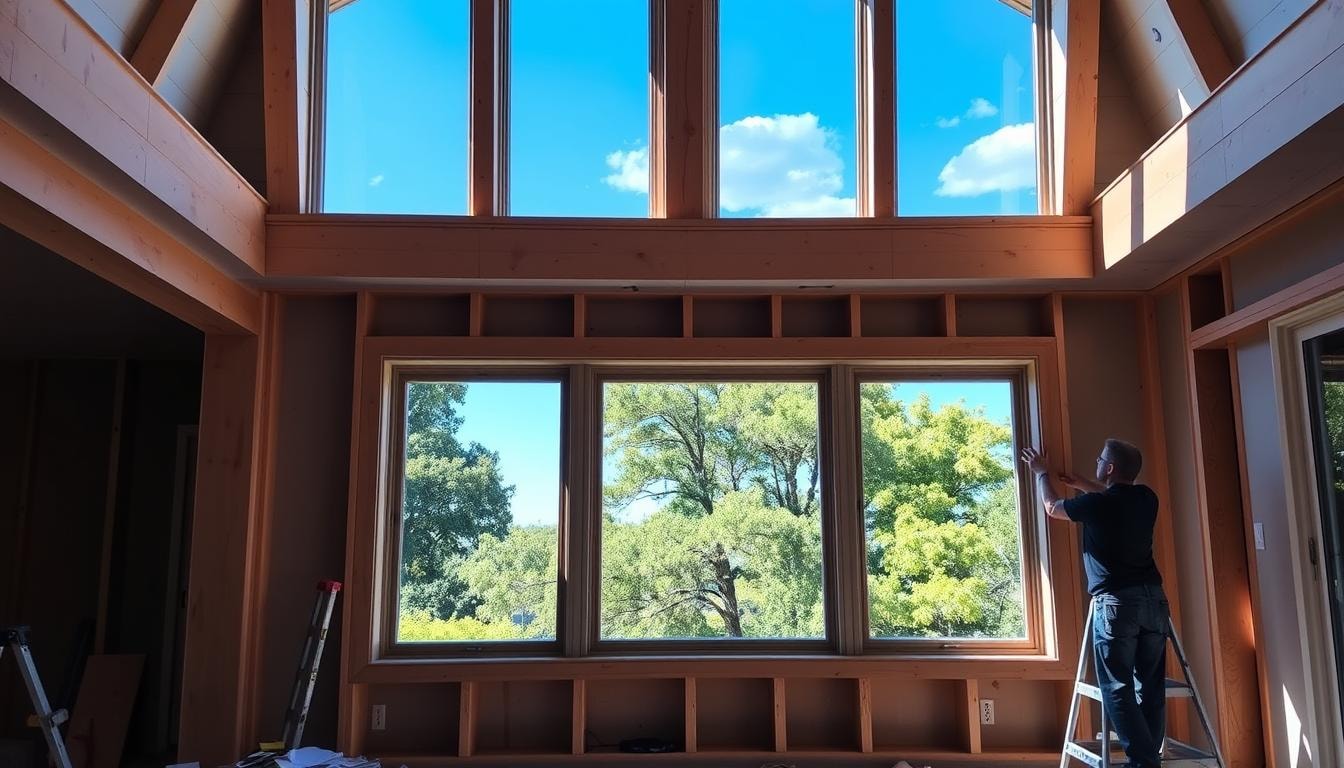
Installing the New Window Frame
Installing a new window frame is key for a secure, energy-saving, and good-looking result. It’s important to pay close attention and follow a step-by-step guide. Let’s look at the steps for this important part of the project.
- Place the window unit into the opening and onto sill shims, centering it within the frame.
- For shimmed sills, adjust the height of bottom shims if needed to ensure the sill is level.
- Use sill shims to adjust or re-adjust the sill to level as necessary.
- For mulled units, ensure shims are placed directly under mull locations to provide adequate support.
- Install #8 x 2″ Phillips pan head screws into each factory-prepped top jamb screw location to hold the frame in place.
- Avoid over-tightening the screws to prevent pulling the frame.
- Check for overall square by measuring diagonally from corner to corner and adjust top jamb screws as needed to achieve the perfect window frame installation.
Being careful with frame alignment and securing window parts is vital. It ensures your new window works well and looks great for years. By following these steps, you’ll get a tight and secure fit. This is the start of a successful window installation.
Sealing and Insulating Techniques
Keeping your home energy efficient is key. Start by using a top-notch, neutral-base silicone sealant. It should meet ASTM C920, Class 25 standards. Make sure it doesn’t release acetic acid, as this can harm vinyl windows.
Weatherproofing Methods
For better weatherproofing, use AAMA-approved insulation foam. It should follow ASTM C1620. This foam fills gaps and boosts energy efficiency. But, don’t block the weep holes, as they stop water buildup.
When adding trim or covering windows, ensure water can drain. This keeps the window working right.
Insulation Materials and Application
- Install thick, insulated curtains or drapes for extra warmth in winter.
- Use insulating foam to seal big gaps around windows for winter insulation.
- Try removable insulated window panels for more insulation in cold months.
- Plant trees and shrubs to block summer sun and lower heat gain through windows.
These steps can make your windows more energy efficient. They also cut down on drafts and make your home cozier. Always focus on safety and correct installation for your new windows’ best performance.
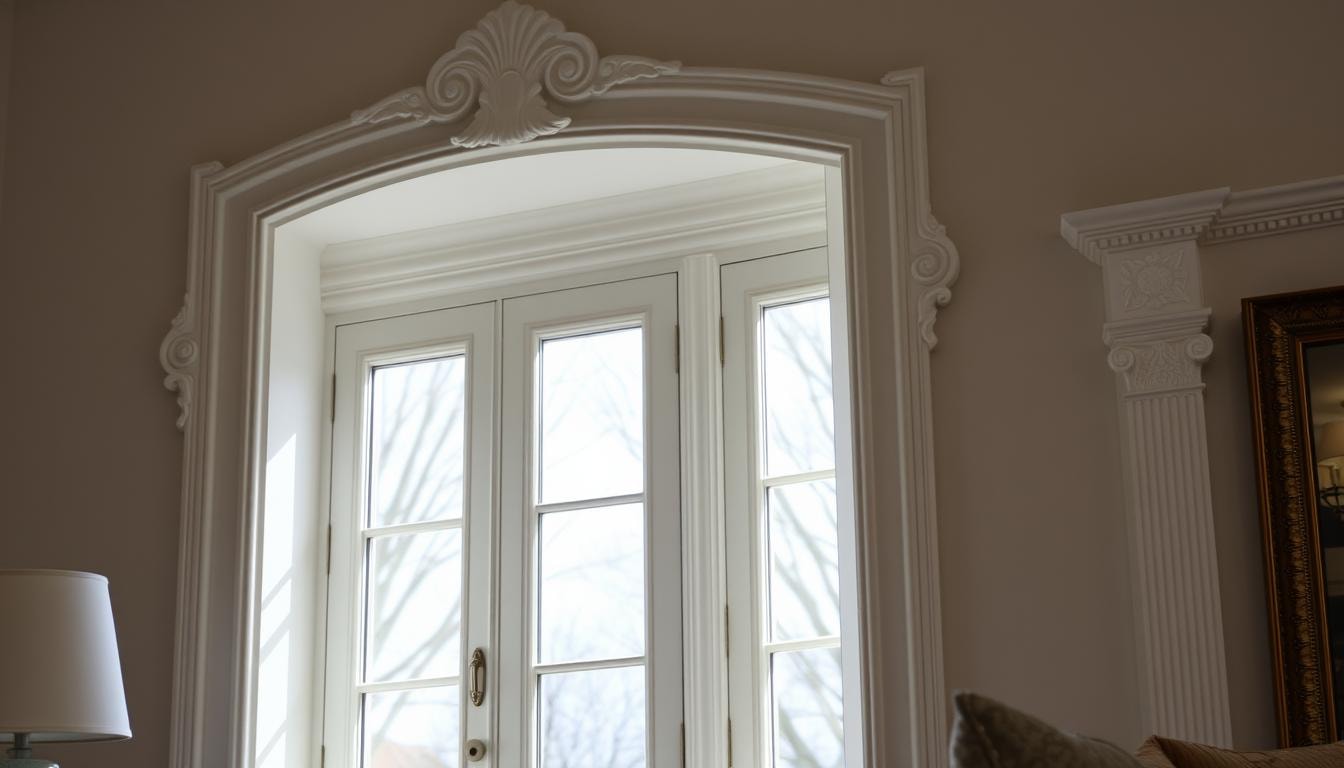
Adding Finishing Touches
After installing the picture window, it’s time to add the final touches. This includes installing optional accessories and adding window trim inside and out.
First, follow the manufacturer’s guide for head expanders or stucco flanges. For head expanders, put batt insulation between the frame and the expander. This prevents the header from getting distorted. If using the exterior groove, cut the expander in half for the inside part.
For stucco flanges, install and prepare the flange before putting in the window. This makes the installation look professional and seamless.
Then, add the interior and exterior window trim. Choose a window trim that fits your home’s style. Whether it’s modern, decorative, or traditional, the trim should match the exterior finish and window accessories.
When putting on the trim, make sure it doesn’t block the window’s movement or drainage. Use wood glue and nails to secure it tightly and lastingly.
By focusing on these details, your picture window will become a stunning feature of your home. It will look great and work well.
Maintenance and Care Tips
Keeping your picture window in good shape is key. It helps it last longer and look great. Here are some important tips to keep your window looking its best:
Regular Cleaning Procedures
Use a mild, non-abrasive cleaner to clean the glass and frame. Don’t use harsh chemicals or scrub too hard. This can harm the window. Also, clean the weep holes to prevent water buildup.
Preventive Maintenance Schedule
- Check and clean weatherstripping and seals every year. Replace them if they’re damaged to keep the seal tight.
- Use a silicone spray on moving parts like hinges or locks once a year. This keeps them working well.
- Look at the caulking around the window frame often. Reapply it when needed to keep air and water out.
- If your window is painted outside, check the paint for wear or peeling. Touch up the paint to protect it from the weather.
By following these window maintenance and cleaning picture windows tips, you’ll keep your window care in top shape. Enjoy your picture window for years to come.
Upgrade Your Home with Budget Windows
Are your current windows letting in unwanted drafts and air leaks? Don’t settle for anything less than a picture window that fits perfectly and enhances your home’s energy efficiency. At Budget Windows, our experts are ready to guide you through the process, from measuring your window openings to customizing the right type of panes and molding.
Whether you need a single picture window or want to replace multiple doors and other types of windows, we have solutions to fit your budget and needs. Don’t let air leaks or outdated window treatments compromise your home’s comfort and curb appeal.
Contact Budget Windows today and expect a seamless installation that won’t break the bank, with no additional costs for things like stairwell landings or serious injuries. Get the picture window you deserve and enjoy the increased natural light and overall cost savings on your energy bills.
Conclusion
Replacing picture windows is a big home improvement project. It can make your home more energy-efficient, let in more natural light, and look better. While some people try to do it themselves, getting help from a pro can make sure it works well for a long time.
Choosing top-notch picture windows and having a pro install them can really change your home. You’ll get more natural light, beautiful views, and your home will be more valuable. Plus, you’ll spend less on energy bills.
FAQs
What are the key benefits of installing a new picture window?
Picture windows offer increased natural light, improved energy efficiency, and enhanced aesthetic value for the home.
What are the essential tools and materials needed for a picture window replacement project?
Essential tools include a tape measure, pencil, shims, drill, screwdriver, utility knife, and caulking gun. Key materials are high-quality silicone caulk and AAMA-approved window insulation foam.
What safety precautions should be taken when installing a new picture window?
Safety precautions include wearing a hard hat, safety glasses, work gloves, and slip-resistant boots. Preparing a clean, organized workspace and properly disposing of waste materials are also crucial.
How should the window opening be prepared before installing a new picture window?
The window opening should be thoroughly cleaned, inspected for damage, and made level using wedge shims to ensure the new window fits properly.
What are some tips for maintaining and caring for a new picture window?
Regular cleaning with mild cleaners, checking and replacing weatherstripping, lubricating moving parts, and monitoring caulking and exterior paint are important for keeping the picture window in top condition.