How to Install a Casement Window in a Kitchen
Installing casement windows in a kitchen can be rewarding. It improves ventilation and gives clear views. These windows open outward with a handle, making them great for kitchens.
While experts are best, you can do it yourself to save money. This guide will show you how to replace a kitchen window with a casement one. We’ll cover tools, preparation, and how to install it.
Key Takeaways
- Casement windows offer enhanced ventilation and energy efficiency for kitchen spaces.
- Professional installation is recommended, but DIY options are available for cost-conscious homeowners.
- Proper preparation, including measuring and removing the old window, is crucial for a successful installation.
- Securing the nailing flange, applying weather-resistant barriers, and adding insulation are essential steps.
- Careful attention to interior and exterior trim work, as well as testing and adjusting the new window, ensures a polished and functional installation.
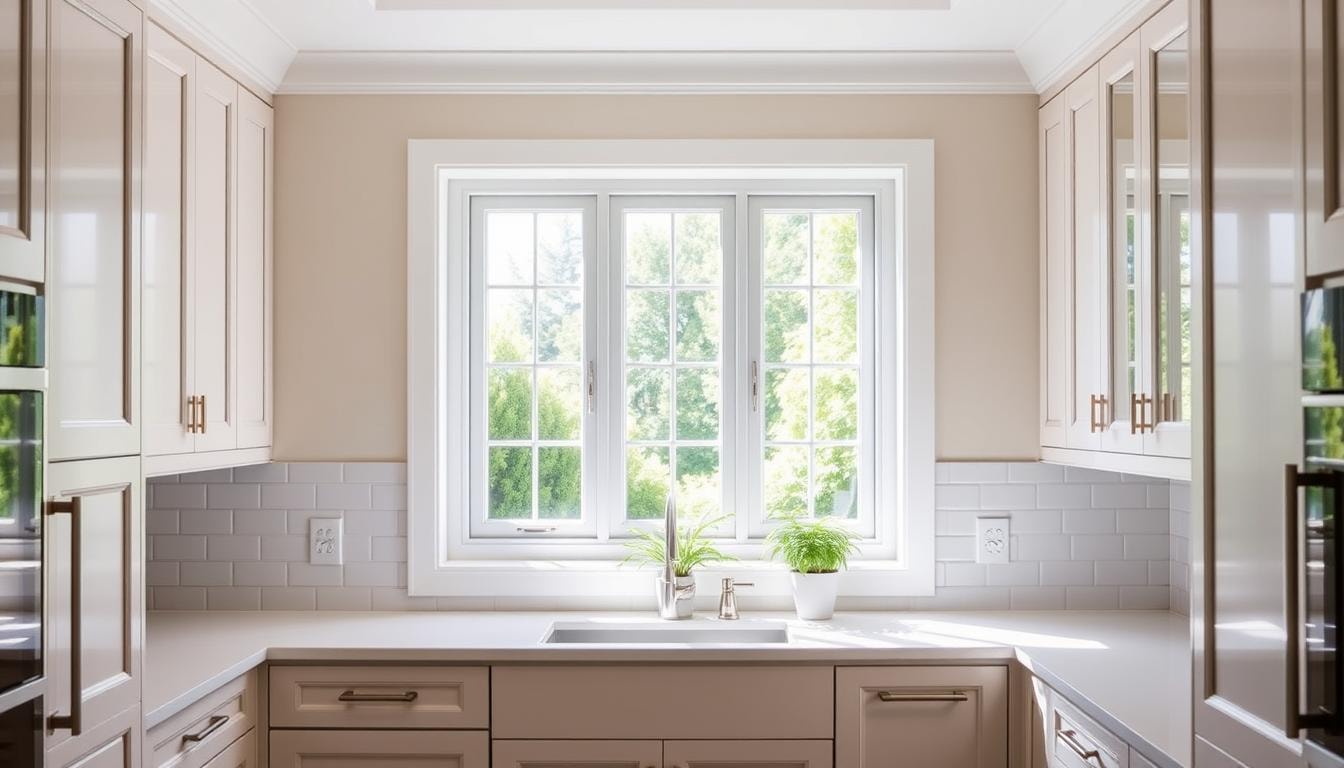
Understanding Casement Windows and Their Benefits for Kitchen Spaces
Casement windows are great for kitchens. They save energy, improve air flow, and fit many kitchen styles.
Energy Efficiency Features
Casement windows seal tight and have insulated glass. This makes them very energy-saving. They keep air in and out, which helps control kitchen temperature.
This control means you use less energy for heating and cooling. So, your bills go down.
Ventilation Advantages
Casement windows are great for kitchen air. They open wide for better air flow. This keeps your kitchen fresh and clean.
Style and Functionality Benefits
Casement windows come in many styles. They let in lots of light and offer great views. They’re perfect for kitchens.
Their crank mechanism is easy to use. This is great for places like over kitchen sinks. It makes opening and closing easy.
In summary, casement windows are a smart choice for kitchens. They save energy, improve air flow, and look good. They offer both function and style.
Essential Tools and Materials Needed for Installation
Having the right tools and materials is key for a good casement window installation. Whether it’s a new or old window, the right tools make the job easier. Here’s what you’ll need for your DIY project.
- New casement window
- Caulk gun
- Tape measure
- Shims
- Level
- Hammer or rubber mallet
- Screwdriver
- Drill
- Pry bar
- Putty knife
- Insulation (e.g., fiberglass or spray foam)
You might also need weather-resistant barriers and exterior casing. Make sure all tools work well and materials fit your project. Getting the right window installation tools helps you do a great DIY window installation of your new casement window replacement.

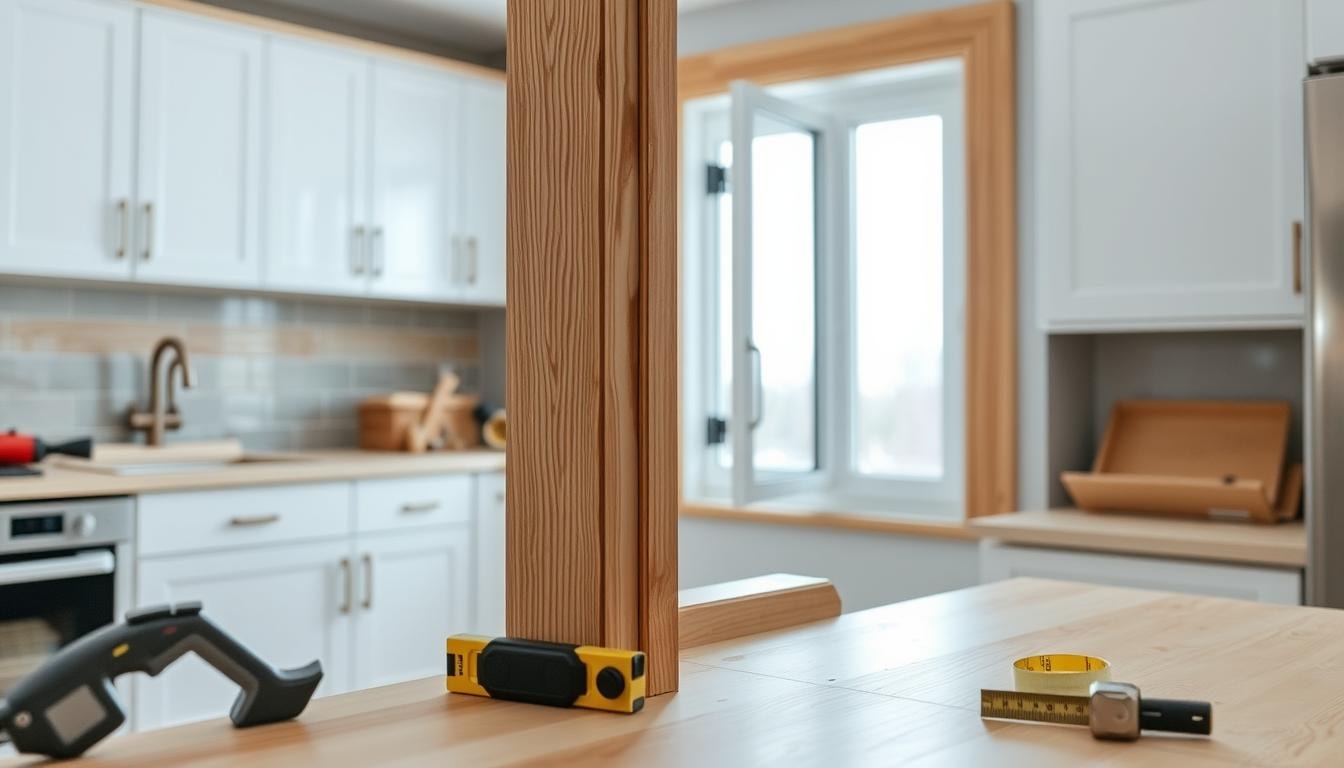
Preparing Your Kitchen Window Opening
Before putting in a new casement window, you must prepare the old window space. This means taking out the old window, cleaning the area, and measuring for a good fit. Doing this well ensures your new window installs smoothly and looks great.
- Removing the Old Window: Start by unscrewing and taking out the old window. You might need someone to help with big or heavy windows. Then, throw away the old window and clean the spot well to get rid of dirt, old caulk, or paint.
- Cleaning and Repairing the Opening: After removing the old window, check the area for damage or rot. Fix any problems with the frame or replace bad wood for a strong base. Clean the opening again to remove any leftover dirt or stuff.
- Measuring for Proper Fit: Getting the right measurements is key for a good fit. Measure the opening’s height and width at different spots (top, middle, bottom) from both sides. Take the smallest measurements to make sure the new window fits well.
By carefully window removal, thoroughly window opening preparation, and precisely measuring for new windows, you’re ready for a successful casement window installation in your kitchen.
Installing the Window Frame and Waterproofing
Installing a window frame right is key for a tight, weatherproof fit. Start by attaching the nailing flange to the wall. Use shims on at least two sides to make sure it’s level.
For windows without nailing flanges, just attach the frame to the wall opening.
Applying Weather-Resistant Barriers
Weather-resistant barriers stop water from getting in. Use 15-pound builder’s felt at the bottom. Or, go for a self-adhering waterproof membrane for a better seal.
Make sure to follow the maker’s guide for applying it right. Also, ensure it fits tightly and overlaps well.
Adding Insulation
Insulating the gap between the frame and wall is vital for saving energy. Use materials like expanding foam or fiberglass. They help keep your kitchen comfy and save energy.
After, put a bead of good caulk around the frame. Smooth it with a putty knife for a tight seal. Keep an eye on it for water stains and gaps to keep your window frame installation, waterproofing windows, and insulation for windows working well.
Installing Window Hardware and Mechanisms
Installing the right hardware and mechanisms is key for casement windows. This includes the window operator arm and the crank mechanism. They are crucial for the window’s smooth operation.
First, install the casement window operator arm as the instructions say. This arm connects the window sash to the crank mechanism. It lets you open and close the window easily. Make sure to attach it to the correct side for your window’s direction.
Then, install the window crank mechanism. This is what you use to open and close the window. You might have one or two crank handles, depending on your window. Always follow the manufacturer’s instructions for correct installation and smooth operation.
- Install the casement window operator arm according to the manufacturer’s instructions.
- Attach the operator arm to the correct side (left or right) based on your desired window opening direction.
- Install the window crank mechanism, following the manufacturer’s guidelines.
- Test the mechanism to ensure smooth operation and proper sealing.
After installing, test the window to make sure it works right. Check for smooth movement, proper sealing, and full opening and closing. Proper installation means you’ll enjoy your casement window for many years.
Interior and Exterior Trim Installation
Finishing your kitchen window installation means doing trim work right. This makes your kitchen look great inside and out. You need to pay close attention to details.
Adding Exterior Casing
Exterior casing, or window trim, keeps your window safe from the weather. It makes your home look better and keeps drafts and moisture out. Pick a material that fits your kitchen’s style, like wood, vinyl, or fiber cement. Then, put it around the window frame securely.
Interior Trim Work
Now, focus on the inside. Installing interior window trim makes your kitchen look fancy. You can use crown molding or simple casings. Make sure to measure and cut the trim right, so it fits perfectly.
Caulking and Sealing
The last step is to caulk and seal all gaps. This keeps your window tight and prevents leaks. Use a good caulk that works inside and outside. Apply it smoothly with a caulk gun.
With careful trim work, your kitchen will look and work great. Your new casement window will be a beautiful addition.
Testing and Adjusting the Installed Window
After putting in the casement window in your kitchen, it’s key to check how it works. You might need to tweak a few things. This makes sure the window moves well, saves energy, and lets in fresh air as you want.
First, look at the crank mechanism. Open and close the window a few times. This checks if it moves smoothly and doesn’t get stuck. Also, make sure it closes tight to keep out air and water.
- Use a level to see if the window is straight. It should be level and not crooked.
- Check the weatherstripping around the window. Fix or replace any that’s not working right to seal better.
- Test the window’s tightness by spraying it with a hose. Look for any leaks where water might get in.
- Adjust the hardware, like screws or hinges, if needed. This helps the window open and close easily.
By testing the window installation and making any adjustments to the casement windows, you get the best window functionality and energy saving for your kitchen.
Upgrade Your Kitchen with Budget Windows
At Budget Windows, we specialize in replacement windows, ensuring the perfect fit for any existing window in your home. Whether it’s a full frame replacement window or a double hung window, our experts use tools like a utility knife and wood putty to install every window with precision. From one window to other windows, we focus on creating a wow factor that enhances your room and house.
Enjoy features like easy food passing, better security, and improved ventilation to handle smoke and cooking smells. Let us lift your home’s style, fill those holes in your view, and complete your kitchen with seamless patio connections. Contact Budget Windows today and slide into the perfect solution for your windows and doors.
Conclusion
Adding a casement window to your kitchen can really improve air flow, save energy, and look great. While you might try to install it yourself, it’s best to let the pros do it. This way, you avoid problems like bad seals or broken parts.
Choosing a casement window for your kitchen has many benefits. They are good at keeping air in and out, save energy, and are easy to use. Their tight seals stop drafts and cut down on heating and cooling costs.
Getting your casement window installed right is crucial. Experts will make sure it’s done well, lasts long, and fits your kitchen perfectly. A good window and expert installation will make your kitchen more comfortable, efficient, and beautiful for many years.
FAQs
What is the first step when installing replacement windows?
Start by removing the existing window carefully. Use a utility knife to cut through old caulking, then lift the window out, ensuring you don’t damage the sill or edges.
How do you secure a full frame replacement window?
Position the correct window in the center of the opening. Use shims to ensure it’s level. Secure it with finish nails around the edges, and fill any gaps with wood putty for a complete seal.
Why are casement windows ideal for kitchens?
Casement windows offer great ventilation by opening wide, which helps remove smoke and cooking smells. They’re also easy to operate, especially in hard-to-reach areas like over a sink or near a door or patio.
How do you check if the new window is installed properly?
Test the lock and slide mechanisms to ensure smooth operation. Make sure the top sash is flush, there are no air leaks, and the window is level on one side and the other.
What are some style benefits of adding one window or other windows to a kitchen?
Adding windows creates a wow factor by letting in more light, improving the room’s look, and making tasks like passing food to a patio or extending views of the house easier.