How to Install a Casement Window: A Complete Installation Guide
Casement windows are loved by many homeowners. They are known for their classic look, usefulness, and how they make a house look better. If you’re fixing up your home or want new windows, this guide will help you install a casement window step by step.
Installing windows yourself can save money. But, it’s important to know the challenges and risks. Sometimes, it’s better to get help from a pro. This way, your new windows will be installed right and last a long time.
Key Takeaways
- Casement windows offer a timeless appeal and a resurgence in popularity.
- Energy-efficient features like double- or triple-paned glass are common in modern casement windows.
- Customizable design options allow casement windows to complement various home decor styles.
- Careful planning and preparation are crucial for a successful casement window installation.
- Professional installation is recommended due to the complexities involved in the process.
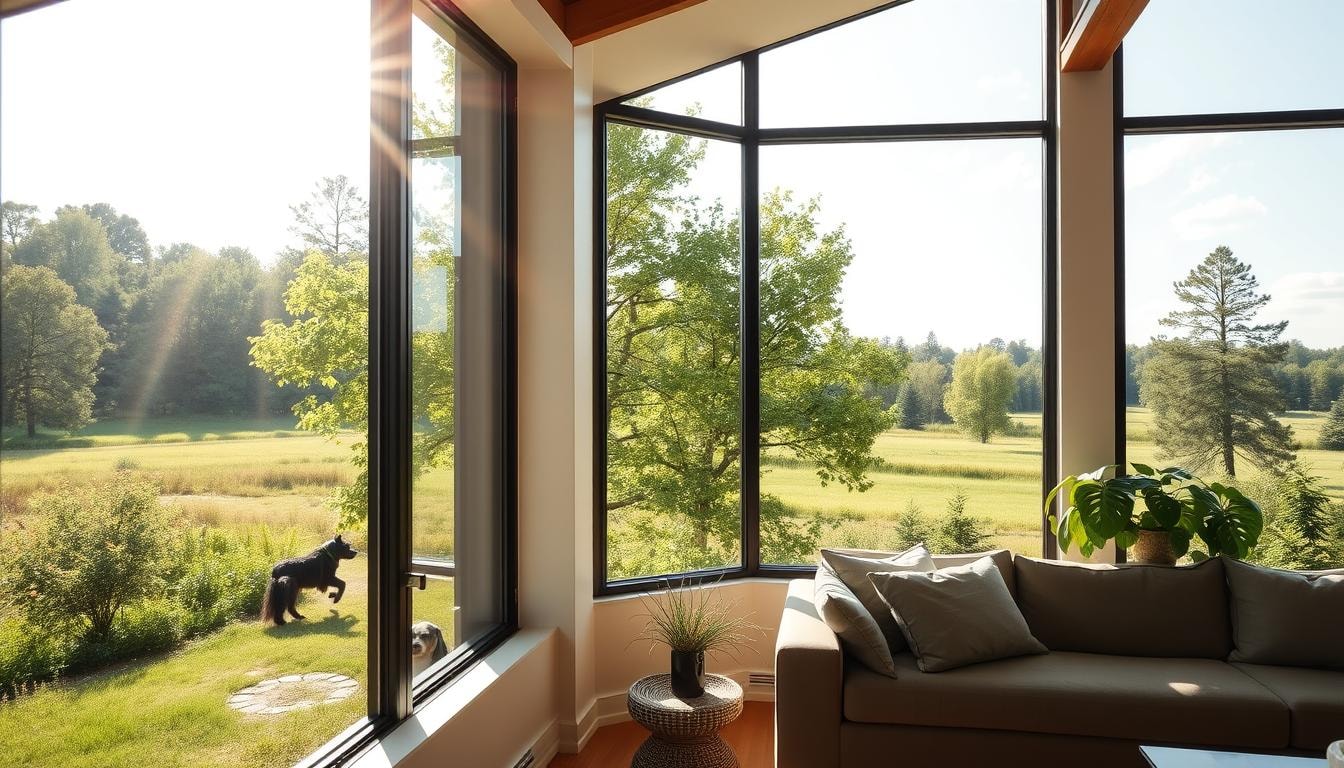
Understanding Casement Windows and Their Benefits
Casement windows, also known as crank windows, are a favorite among homeowners. They offer great ventilation and clear views. These windows open outward with a simple handle, connecting indoors and outdoors smoothly.
What Makes Casement Windows Unique
Casement windows have a long history, starting in medieval Europe. Their design has changed over time to fit today’s needs. The classic French style gives a full view and lots of air, loved by many.
Homeowners can pick from different materials like wood, vinyl, aluminum, and fiberglass. Each material has its own benefits for keeping warm or cool, lasting long, and being easy to care for.
Energy Efficiency Features
Casement windows are known for saving energy. Their tight seal stops air from leaking, making them great for keeping your home warm or cool. They often have double or triple glass and special coatings to save even more energy.
Popular Design Options
- Customizable styles and materials to match architectural preferences
- Tinted glass to reduce glare and heat
- Child safety locks for families with young children
- Crankless designs for improved durability and ease of use
Casement windows are becoming more popular again. They are loved for their classic look and ability to save energy. Whether you’re updating your home or building a new one, these windows can make your space look and work better.
Essential Tools and Materials Needed
Getting ready for a casement window installation means you need the right tools and materials. Having the right tools and materials makes the job easier and more successful. Here’s what you’ll need:
- Tape measure
- Caulk gun
- Shims
- Level
- Hammer or rubber mallet
- Screwdriver
- Drill
- Pry bar
- Putty knife
- Insulation
- Safety glasses
- Waterproof shims
- Gasket sealing tape
- Aluminum tape
These tools and materials are key for a job well done. Preparing well and having the right tools makes the job easier and faster.
Make sure you have everything before starting your project. Getting the right tools and materials helps you do the job well and avoid problems.
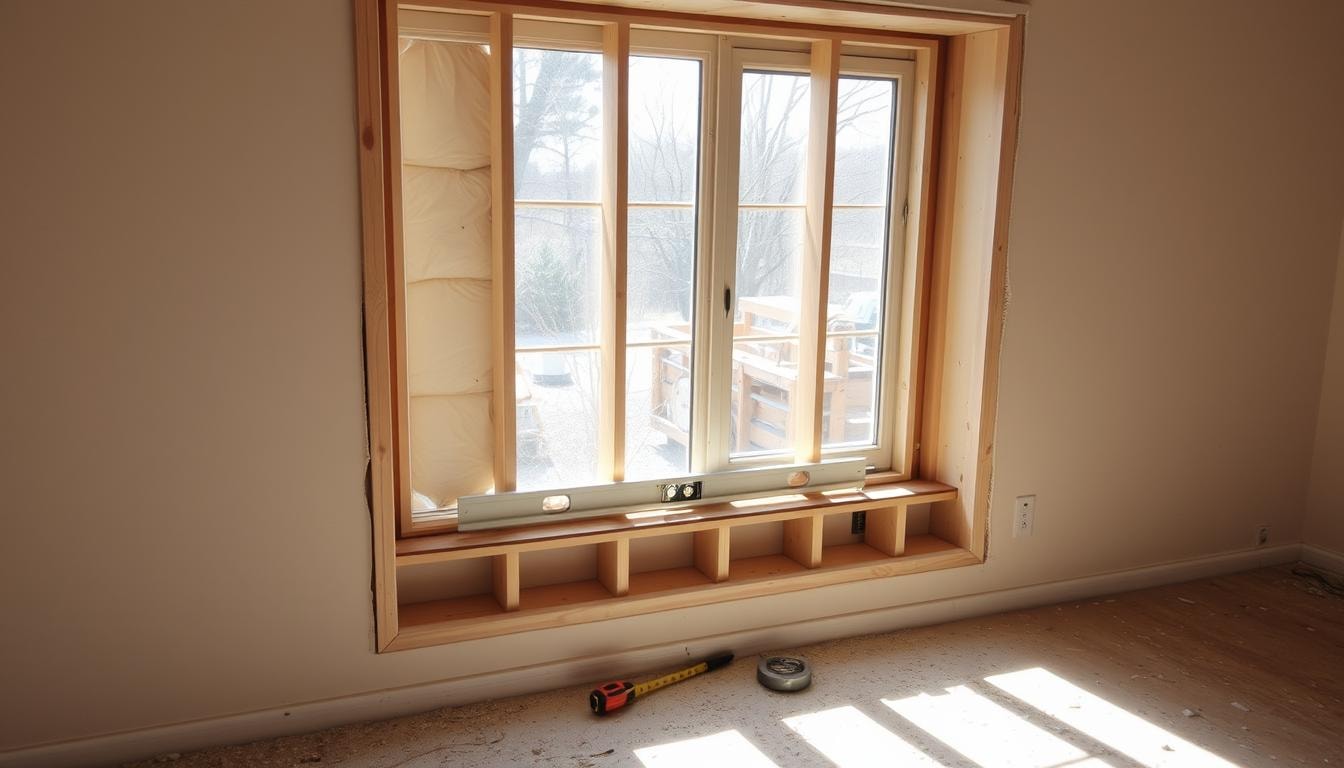
Preparing the Window Opening for Installation
Before you can install a new window, you must prepare the opening. This means measuring it right, removing the old window, and cleaning the frame. Doing this well helps your window installation go smoothly.
Measuring the Opening Correctly
Getting the measurements right is key for a good fit. Measure the height, width, and depth at several spots. This helps pick the right window size and spot any issues with the opening.
Removing the Old Window
Take out the old window by removing screws or fasteners. Use a pry bar to gently pull it away from the frame. Be careful not to harm the wall. Then, throw away the old window and clean up any mess.
Cleaning and Repairing the Frame
After removing the old window, clean the opening well. Get rid of dirt, dust, and old paint. Check the frame for damage or rot and fix it if needed. This makes sure the new window has a solid base.
Creating a Watertight Seal
Creating a watertight seal is key to stop leaks and keep energy in. You need to put a water seal gasket or aluminum tape around the window. Start at the bottom sill. This keeps water out and your home strong.
Applying Water Seal Gasket
First, put a water seal gasket on the bottom sill. Follow the maker’s guide to make sure it sticks well. Then, add it to the sides, making sure it’s tight.
Finally, seal the top, overlapping the sides for a complete seal.
Installing Aluminum Tape
You can also use aluminum tape for a seal. Cut it to the right length, leaving extra at corners. Remove the backing and press it on, starting with the bottom sill.
Then, seal the sides and top. Make sure to smooth out any wrinkles for a clean look.
Sealing the window opening right is vital for waterproofing. It stops water damage and keeps your windows efficient for a long time.
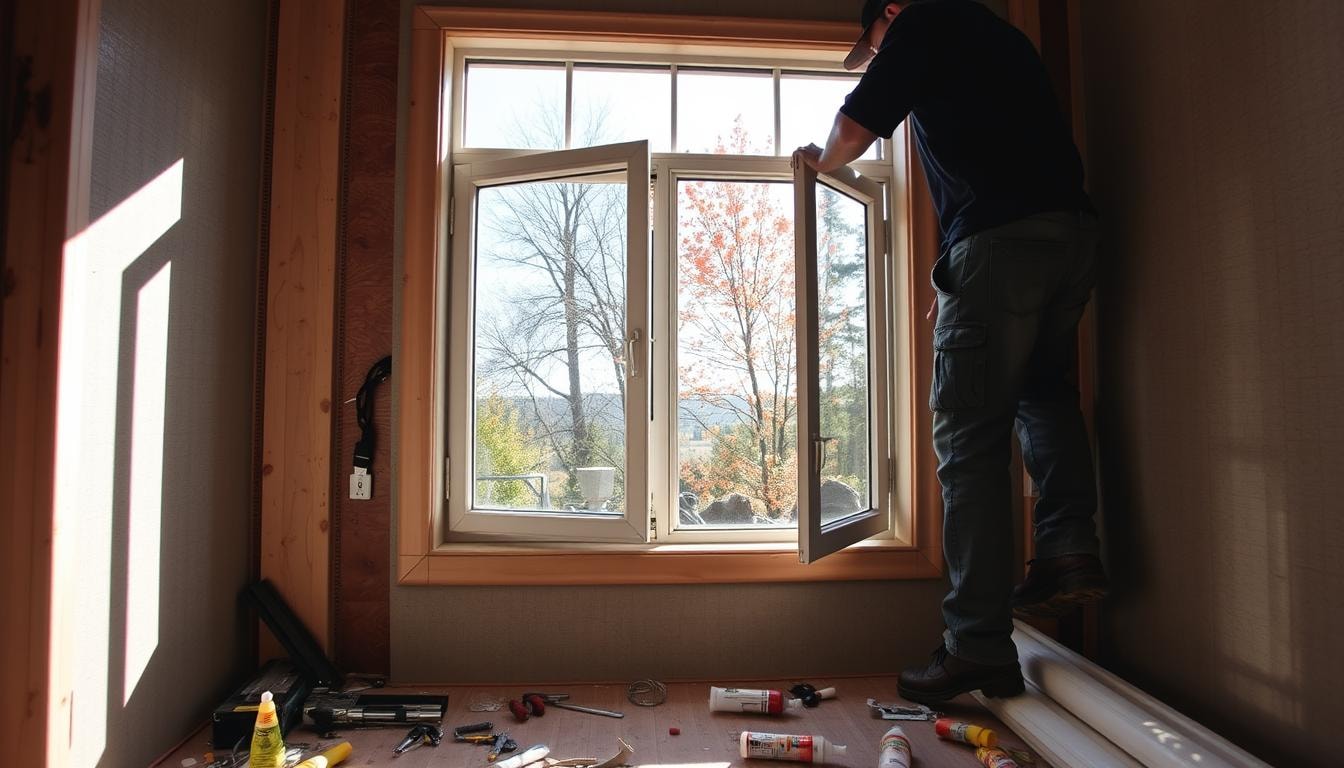
Installing the Window Frame
Getting the window frame ready for installation is key. Before putting the window in, make sure the nailing flange is in the right spot. If it’s not, you can bend it to fit snugly against the wall.
With someone to help, lift the window into place carefully. Make sure it fits well by checking it’s level with a bubble level. If it’s not, use shims to level the bottom sill. The frame must be perfectly level and straight for the window to work right.
- Bend the nailing flange to a 90-degree angle if necessary.
- Lift the window into the frame with assistance, ensuring a tight fit.
- Use a bubble level to check the bottom sill is level, shim as needed.
- Verify the frame is level both horizontally and vertically (plumb).
Installing the window frame right is important for its long-term performance. A well-fitted frame means your new casement windows will work better and save energy for years.
Securing the Nailing Flange
When you install a window with a nailing flange, it’s key to secure it well. Start by hammering a nail into the center hole of the top nailing flange. Then, place nails in every other hole, checking the window stays level.
This pattern spreads the weight evenly. It keeps the window from getting out of line.
Proper Nailing Techniques
Use roofing nails or fasteners the window maker suggests. Don’t hammer too hard, as it can harm the flange or frame. Hammer with even force for a strong hold.
Checking for Level Installation
After nailing, check the window’s level with a level plumb. If it’s not right, adjust it until it is. This is vital for the window’s smooth operation and to keep it level window installation.
Once it’s level, nail the rest of the holes. For extra water protection, apply sealant or nailing flange installation aluminum tape on the top nailing flange.
Interior Installation Steps
After the window frame is set, it’s time for the inside work. This part is key to making your new casement window energy-smart. Begin by adding insulation between the frame and the wall. This insulation makes a tight seal, stopping air leaks and boosting the window’s thermal performance.
Then, use top-notch caulk to seal the frame’s inside edge. Use a putty knife to smooth the caulk for a tight and smooth finish. Do this on both sides of the window. This makes a strong insulation and sealing system, improving the interior window installation and insulating window frame.
- Apply insulation between the frame and wall to improve energy efficiency
- Caulk around the interior perimeter of the frame to create an airtight seal
- Repeat the caulking process on the interior side of the window
By following these steps, your new casement window will not only look good but also save energy and keep air out. This careful work will lead to lower bills and a cozier home.
Installing Window Hardware and Mechanisms
After putting the casement window frame in place, it’s time for the next step. You need to install the crank mechanism, locks, and hinges. These parts are key for your window to work well.
Crank Mechanism Installation
Start by attaching the crank mechanism to the frame. Make sure the operator arm lines up with the sash. This lets the window open and close smoothly.
Secure the crank handle where you want it. Then, test the window to see if it works right.
Lock and Hinge Assembly
Now, put in the lock and hinge assemblies. Place the locks where they fit best with the sash and frame. Attach the hinges, making sure they’re in the right spot and work well.
Test the window to see if it opens and closes right. If not, adjust the hardware until it does.
Installing the casement window hardware right is important. It makes your window work better and save energy. Follow the instructions carefully and test the window to make sure it’s installed well.
Finishing Touches and Trim Work
Once your new casement window is in, it’s time for the final steps. You’ll hang molding and paint the casing inside. Also, install a new sill and frame outside if needed. It’s important to caulk all openings to stop leaks. You’ll also need to replace any siding or shingles removed during installation.
These steps make your window work better and look great. Here’s how to do the window trim and interior finishing:
- Measure and cut the trim to fit the window frame with a miter saw. Make sure it fits well.
- Put wood glue on the trim and nail it in place with a brad nailer. Use 1-inch and 2 1/4-inch nails, about 6 inches apart.
- Fill gaps or holes with wood putty and sand it smooth.
- Caulk all seams and edges for a clean look and to stop leaks.
- Prime and paint the trim to match your decor or for a fresh look.
On the outside, you might need a new window sill and frame. This seals your home from the weather. Measure carefully, cut the materials, and fasten them in place.
Pay close attention to the details for the finishing touches. A good window trim installation and interior window finishing make your window last longer and look better.

Common Installation Challenges and Solutions
Installing a casement window is usually easy. But, homeowners might face some common problems. One big issue is dealing with windows that don’t fit perfectly. These might need extra shimming or adjustments to seal right.
For windows that are really off-square, you need to fix them. This stops leaks and water from pooling.
Another problem is frame issues during installation. It’s important to fix warped or damaged frames quickly. This keeps the window working well and saves energy and security.
Dealing with Irregular Openings
For windows in odd-shaped openings, measuring carefully is key. You might need to add shims to level it. Sometimes, you have to trim the frame or opening to fit right.
Addressing Frame Issues
If the frame is damaged, fix it before installing. This could mean repairing or replacing it. Not fixing it can cause problems with the window’s function and leaks.
Keeping up with maintenance and fixing issues fast helps your window last longer and work better.
Get Expert Help with Your Window and Door Installation
Thinking of replacing your windows? At Budget Windows, we specialize in window replacement, from selecting the right replacement windows to installing them step by step. Whether you’re replacing windows in your bathroom, room, or anywhere else in your home, we ensure perfect installation with the correct window fit. Contact our experts today and let us help you with your next window project.
Conclusion
DIY casement window installation is doable with the right tools and skills. Yet, professional window installation is best for top-notch results. It ensures energy efficiency, smooth operation, and keeps warranties valid.
Regular casement window maintenance and expert checks can also extend their life. This keeps them working at their best.
Casement windows bring many benefits, like great ventilation and views. They are also energy-efficient and secure. But, they need special installation and cost more than other windows.
Working with skilled window installers is key for a successful project. This way, homeowners get the most out of their casement windows. It also keeps them looking and working great for years.
Thinking about casement windows for a new home or a replacement? Knowing their unique features and needs is important. Prioritize professional installation and care to fully enjoy casement windows. This boosts your home’s comfort, efficiency, and looks.
FAQs
How do I replace my existing window with a casement window?
To replace your existing window, start by measuring the wall opening, then remove the old window carefully. Prepare the frame, create a watertight seal, and place the new casement window into the rough opening, following the step-by-step guide.
What is a nailing flange, and how do I use it?
A so-called nailing flange is a crucial part of the window that secures it to the frame. When installing your window, make sure to fold the nailing flange against the wall, ensuring it’s level before securing it.
Can I use a utility knife when replacing windows?
Yes, a utility knife is helpful for trimming any materials or cutting through the window casing. It’s also useful for adjusting the rough opening or removing excess materials for a correct window fit.
How do I ensure my casement window sits perfectly in the opening?
To ensure your casement window sits properly, carefully check the level using a small shim to adjust any slight misalignment. Secure the window to the frame and make sure it’s placed in the correct window opening.
How do I make sure the window frame is watertight?
To open the window casing and keep the installation watertight, apply a water seal gasket and aluminum tape around the perimeter of the frame. Make sure all corners are sealed for perfect corners and no leaks.