How to Add a Window to an Existing Wall: A Complete Installation Guide
Adding a new window can make your home look better, work better, and save energy. This guide will show you how to do it, from start to finish. It’s perfect for DIY fans or those who want a pro to help. Follow this guide to make your home better.
Key Takeaways
- Adding a window can increase natural light, improve home value, and enhance energy efficiency.
- Proper planning, measuring, and adherence to building codes are crucial for a successful installation.
- Careful waterproofing and flashing techniques are essential to prevent moisture-related issues.
- Proper insulation and sealing are key to maintaining the window’s energy-efficient performance.
- Attention to detail and avoiding common mistakes can ensure a seamless window addition project.
Understanding the Benefits of Adding a Window
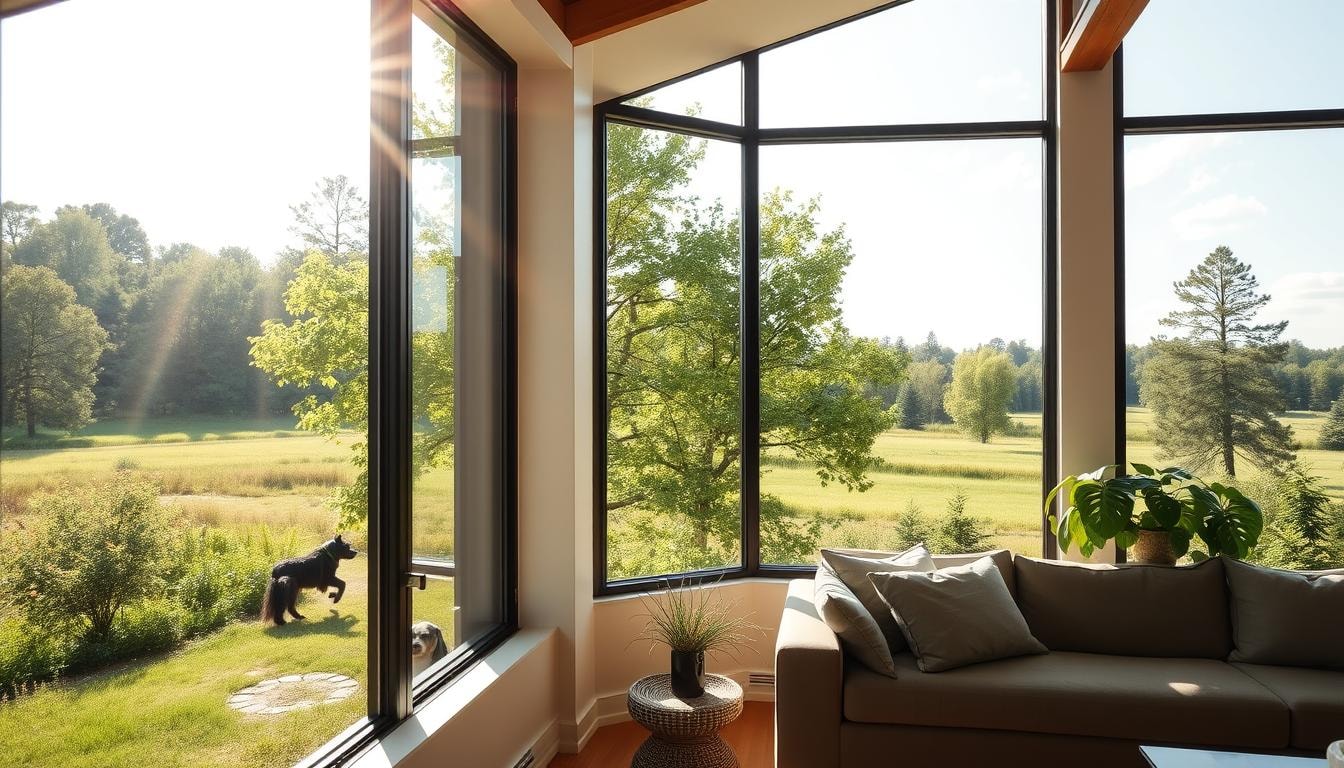
Adding a window to your home can bring many benefits. It lets in more natural sunlight, boosts your home’s value, and saves energy. A well-chosen window can change how a room looks and feels.
- Increasing Natural Sunlight: More natural light in your home makes it brighter and can improve your mood. Studies show it helps you work better, sleep better, and feel less sad. A smartly placed window can make your home feel welcoming and cheerful.
- Improving Home Value: Installing energy-efficient windows can make your home more valuable. Buyers like homes with lots of natural light and modern features. A well-designed window can make your home look better and more appealing to buyers.
- Enhancing Energy Efficiency: Energy-efficient windows also make your home look good and save money. They use new technologies like special glass and gas fills to keep your home warm or cool. This can cut down your energy bills, making your home cheaper to run and better for the planet.
Adding a window can make your home brighter, more valuable, and energy-smart. Think about what you want and choose the right window for your needs and home.
Essential Tools and Materials Needed
Starting a window installation project needs the right tools and materials. This makes the job easier and faster. You’ll need a caulk gun, a drill with bits, a hammer, levels (2-foot and 4-foot), a pry bar, a putty knife, a reciprocating saw, a screwdriver, a tape measure, and a utility knife.
For materials, you’ll need backer rod, caulk, exterior trim, flashing tape, insulation (foam or fiberglass), the new window unit, roofing nails, a self-adhering waterproof membrane, shims, and a window sill pan. Having all these ready makes the installation smooth and efficient.
- Caulk gun
- Drill with bits
- Level (2-foot and 4-foot)
- Tape measure
- Reciprocating saw
- Flashing tape
- Insulation (foam or fiberglass)
Safety Considerations and Building Permits
Before starting your window addition project, it’s key to know about safety and get the right permits. Local building codes are important for making sure your changes meet the rules.
Changing your home’s structure, like adding a window, affects its strength. It’s vital to think about the structural considerations to keep your home safe. Talking to professional contractors can help you understand the project’s details and follow local rules.
Local Building Codes
Learn about your local building codes to know what’s needed for windows in your area. These codes might say what size, where, and what kind of windows you can have. They also might require safety features. Getting the right permits and following local rules is important to avoid problems later.
Structural Considerations
Adding a window can change how strong your home is. You need to check if the wall can handle the new opening. Sometimes, you might need extra support to keep the wall stable.
Professional Consultation Requirements
If your window project is complex or you’re not sure about the structure, get help from professional contractors. They can give you advice, make sure you follow the rules, and take care of the paperwork. This can save you from expensive mistakes and make sure your project is safe and follows the law.
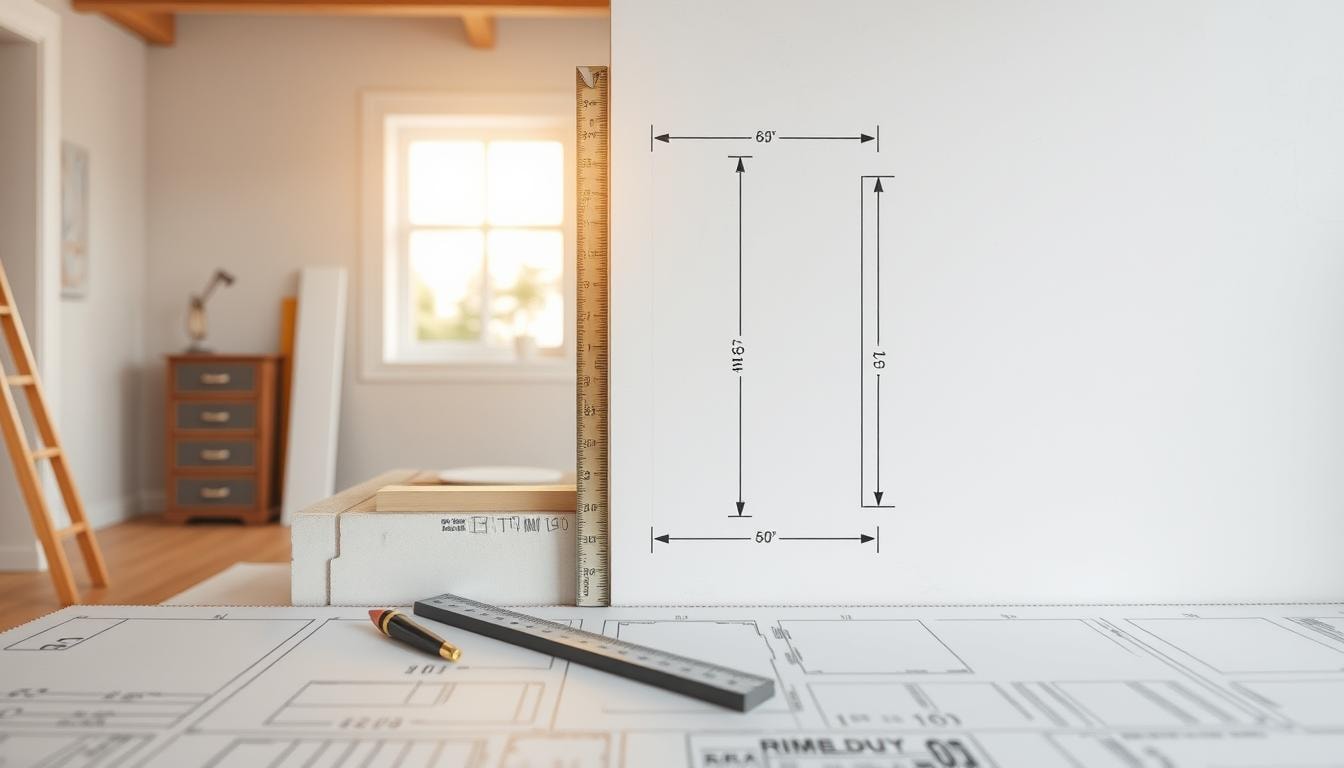
Planning and Measuring the Window Location
Adding a new window to an existing wall needs careful planning and exact measurements. First, use a stud finder to find wall studs and hidden utilities. This helps you pick the best spot for your new window.
Then, measure the window opening at different points, leaving 10-15mm around the window. Think about the height of any current windows and roof eaves. Make a detailed sketch with the opening’s dimensions, any fixed panes, and wall thickness. This helps ensure a good fit and makes ordering a custom window easier.
- Use a carpenter’s square and measuring tape to get the opening’s width and height right.
- Measure at the top, middle, and bottom to check if the dimensions match.
- Check if the current window is square by measuring diagonally. The new window should fit within a 1/4-inch tolerance.
- Round down the final measurements to the nearest 1/8 inch before ordering the new window.
Good planning and precise measurements help pick the perfect window size. This ensures a smooth installation. Taking your time with these details can greatly improve the final look.
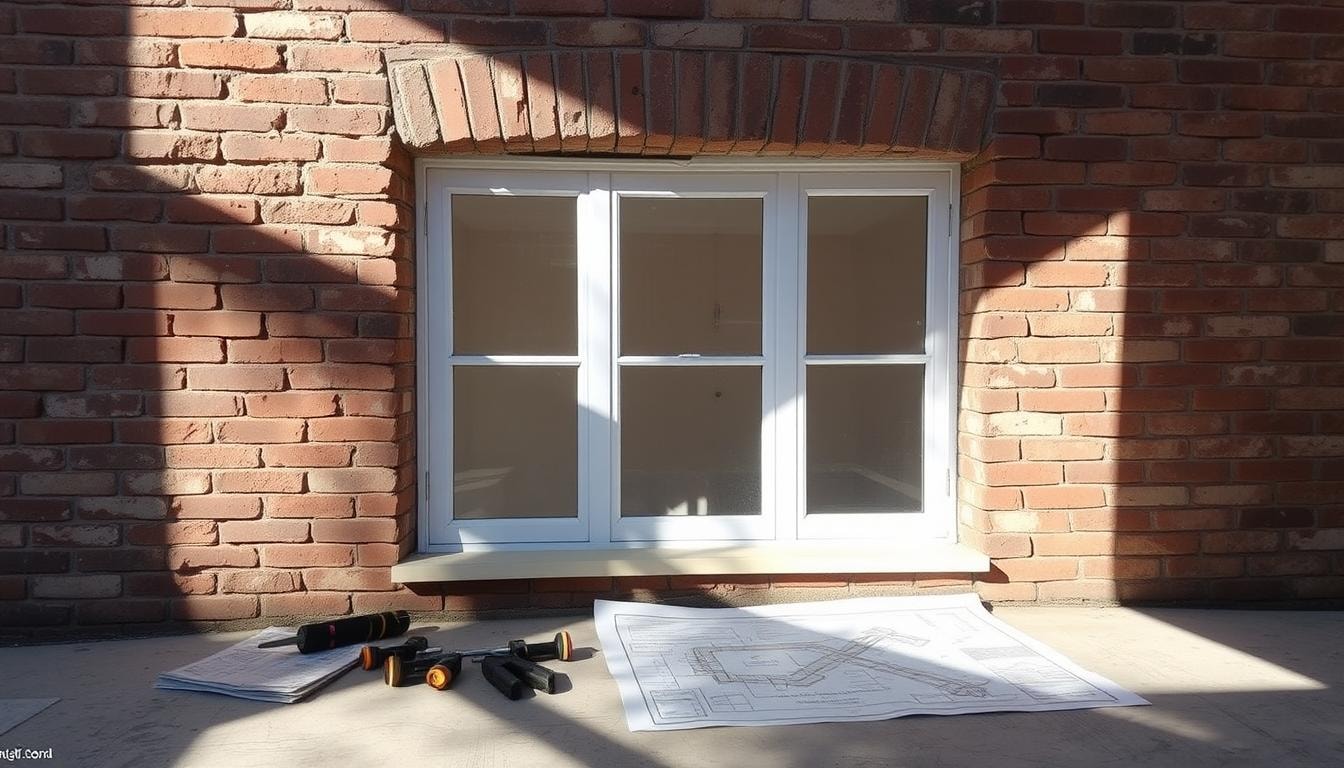
Adding a Window to an Existing Wall
Adding a window to an existing wall can make your living space bigger. You’ll need to make the opening, add support, and get ready for the window. Let’s go through each step for a great result.
- Creating the Initial Opening: Start by cutting through the wall with a keyhole saw. This could be drywall or plaster. You might need to take out wall studs for a bigger window. Use props to keep the wall stable while you work.
- Installing Support Structures: Then, cut the studs at the bottom and top of the opening. This is for the window sill trimmer and header installation. Make sure the header is securely screwed in and level. Add side studs to frame the new window.
- Preparing the Rough Opening: Now, check that the opening is straight and level. This is key for the window’s proper fit. Measure the opening well, as it will decide the window size you need.
By doing these steps, you’ve set up a strong base for the window. This prepares you for the next parts of the project.
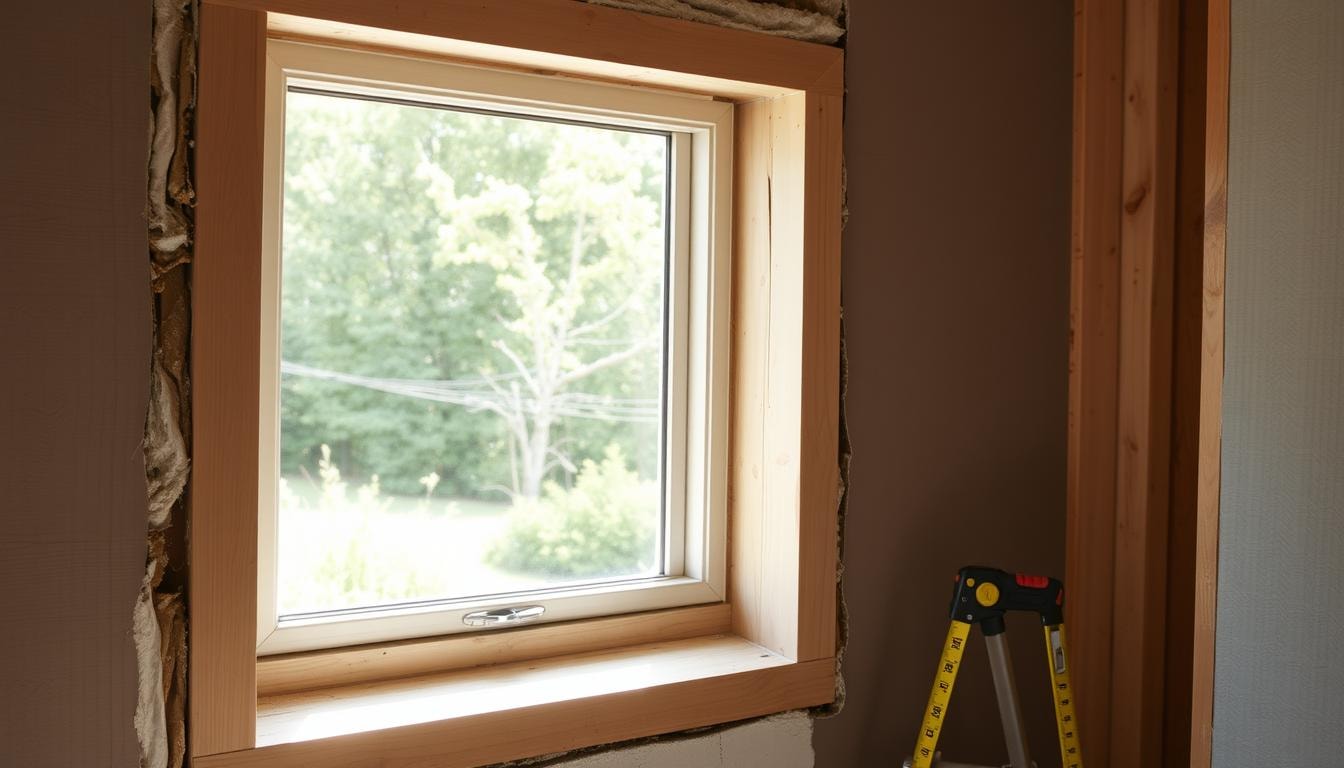
Framing Requirements and Header Installation
Adding a window to an existing wall needs careful framing and header setup. Span tables help find the right header size for the opening and weight above. For upper floors or tiled roofs, stronger headers are needed for extra support.
To put in the header, add studs under the ends for a strong base. Make sure the frame is square and level before you start. This keeps the window strong and lasting.
- Consult span tables to find the right header size for the opening and load above.
- For upper floors or tiled roofs, use stronger headers to handle more weight.
- Put in extra studs under the header ends for a solid base for the window.
- Check that the frame is square and level before you start installing.
Good framing and header setup are key for the window’s strength and lasting use. By following these steps, you make sure the window adds to the wall’s strength and stability.
Proper Waterproofing and Flashing Techniques
Adding a window to an existing wall needs careful waterproofing and flashing. This stops rot, mold, and water damage. Good waterproofing and flashing make a strong barrier. They keep water away from the window, making your new window last longer.
Flashing Installation Steps
Start by putting a self-adhering waterproof membrane around the window. Make sure to overlap the pieces for a tight seal. Then, add flashing at the bottom of the opening.
Make it extend outward by about 15 millimeters (0.6 inches). This helps water flow away from the wall. Choose durable aluminum flashing for the best protection.
Moisture Prevention Methods
- Use a waterproof membrane to create a barrier around the window opening, overlapping seams for a seamless seal.
- Install flashing at the base of the opening, extending it outward to direct water away from the wall.
- Carefully seal all seams and overlaps to prevent any potential water infiltration.
Sealing Requirements
Sealing well is key for a watertight installation. Make sure to seal all seams and overlaps in the waterproof membrane and flashing. This keeps water away from the window.
Use strong sealants and caulks. They should stick well and bend easily. This makes a weatherproof barrier that lasts.
Using these waterproofing and flashing steps in your window installation is very important. It protects your home from moisture problems. And it makes your new window last longer.
Window Installation Process
Installing a window right is key for its long life and energy saving. You need to put the window in the right spot, make sure it’s secure, and seal around it. This stops air and water from getting in. Here’s how to install a window step by step.
- Place the window: Lift the window into the opening from outside. Use packers to level and plumb it, making sure it fits well.
- Align the window: Align the window with the cladding and nail it in part. Check if it fits right and adjust if needed.
- Secure the window: After checking the fit, nail the window in place. Don’t nail the top and bottom.
- Apply exterior sealant: Put exterior sealant around the window, except at the bottom. This lets water drain.
Not all windows need special installation steps, like cuts for corners. Experts say to use exterior-grade sealants and screws. This makes adjustments easier during installation.
Shimming and insulation are also important. Shims should be closer to the edges and in the middle. For big windows, follow specific advice. Also, use foam to seal gaps and backer rods to stop water and heat from getting in. This makes the window last longer and work better.
Interior Wall Finishing Steps
After putting in the new window, it’s time for the inside finishing touches. This includes drywall, trim work, and painting. It all comes together for a smooth and shiny look.
- Drywall Installation: Start by cutting and putting in drywall around the new window. Make sure it’s well attached and any gaps are filled with spackle. Once dry, sand the spackled spots to make the surface even.
- Trim Work: Then, measure and cut the to fit the window. Use finish nails to secure the architraves, ensuring they’re straight. Use caulk to fill any gaps for a clean finish.
- Paint and Final Touches: With the drywall and trim done, it’s time to paint. Prime the new areas first, then paint with two coats of your chosen color. Make sure the paint blends well with the rest of the walls. Lastly, add window coverings like blinds or curtains to finish it off.
Exterior Siding and Trim Work
When you put in a new window, don’t forget about the siding and trim. This makes sure the window looks good and works well. It also makes the home look better.
Start by cutting the siding or stucco to fit the window. This makes the window fit perfectly. Then, add trim or casing that matches your home’s style. This trim makes the window look better and keeps it safe from the weather.
A drip cap flashing is very important above the window. It keeps water away from the window. This stops leaks and keeps the home dry. If your home has vinyl siding, you might need special casing for a good fit.
After the trim is on, you can paint or stain it to match the siding. This last step makes everything look the same. Remember to seal any gaps to keep water out.
Insulation and Energy Efficiency Considerations
Adding a new window to an existing wall needs good insulation. This keeps your home warm in winter and cool in summer. Use fiberglass or foam insulation to fill the gap around the window.
Also, think about getting energy-efficient windows. Look for ones with low-E coatings and gas fills. These help keep your home comfortable and save on energy costs.
Where you put the window matters too. A well-placed window can let in more light and help with heating. Talk to a pro to find the best spot for your window.
Good insulation and sealing are key for a cozy home. With these steps, your new window will make your home more comfortable and save money.
Key Insulation and Energy Efficiency Considerations
- Use fiberglass or low-expanding foam insulation to insulate the gap between the window and framing
- Choose energy-efficient windows with features like low-E coatings, multiple panes, and gas fills
- Consider the window’s orientation to maximize natural lighting and passive heat management
- Ensure proper insulation and sealing for optimal energy efficiency
By focusing on insulation and energy efficiency, your new window will make your home better. You’ll enjoy a more comfortable and cost-effective living space.
Common Mistakes to Avoid
Adding a new window to your home can make it brighter, more energy-efficient, and look better. But, there are mistakes to avoid for a successful project. Let’s look at some common errors to steer clear of.
Structural Errors
When you cut a window, it must fit right and support the wall. A window that’s too big can weaken the wall. Also, not installing the header correctly can cause problems and damage.
Waterproofing Issues
It’s key to keep water out with good waterproofing and flashing around the window. Skipping these steps can lead to leaks and harm your home.
Installation Pitfalls
DIY mistakes or bad contractor work can happen. For example, tightening screws too much can damage the frame. Also, not installing the window level can cause issues with how it works and energy use.
To avoid these mistakes, hire experienced pros, follow local rules, and watch every detail of the installation. Planning and doing it right will make your new window a great addition to your home for years.
Get in Touch with Budget Windows for Your Home Improvement Project
Are you looking to add a window to your house or upgrade your existing ones? Contact Budget Windows today to get expert advice and the best solutions for your home improvement project. Our team will guide you through every step—from framing to installation—ensuring a smooth, efficient, and professional window addition. Call us now and make a huge difference in your home.
Conclusion
Adding a window to an existing wall can change your home a lot. It brings in more natural light and air. It also makes your home more valuable.
DIY window installation is doable if you know how. But, getting a pro might mean better work and warranties.
Keeping your new window in good shape is key. Clean it, oil the parts, and check the seals often. This way, it will work well for many years.
Choosing to do it yourself or get a pro, adding a window is a big plus. It makes your home more comfortable and looks better.
Remember to stay safe and follow local rules when installing a window. Plan well to enjoy the benefits of more home improvement, better DIY window installation, or a pro’s skill.
FAQs
How do I create the opening for a window in an existing wall?
To create the opening, first use a drill to drill pilot holes into the exterior wall. Then, cut through the wall using a reciprocating saw. If needed, make the opening larger to fit the window frame. Be sure to check for plumbing or any other hidden utilities before cutting.
What should I do if the opening in the exterior wall is too small for the window?
To open the hole larger, carefully remove the existing siding and trim. Temporarily support the top plate and supporting frame, then cut the studs as needed to fit the window in an existing opening.
How do I prevent water from leaking around the new window?
Install a window flange around the perimeter of the window to ensure it is sealed. Apply flashing around the window frame, making sure it overlaps properly to prevent water from getting in. Use a waterproof membrane and ensure everything is tightly sealed to prevent water issues.
How do I install the window in an existing opening?
Once the hole is ready, position the window and temporarily support it while you drill holes for the nailing fin. Use a screwdriver bit to secure the window frame into place, ensuring it is level and square before securing it fully.
What are the structural changes to consider when adding a window to a blank wall?
When adding a window, you’ll need to install a sill plate and header to support the weight above. Check the top plate and make necessary structural changes to support the new window. It’s important to ensure the window is properly framed for stability.